If you're like me, you've spent hours changing your Kodi default view in all of your menus and sub-menus throughout your Kodi install (or installs). It is a tedious and time consuming task to go through every menu and every sub menu and change it to your favourite view. However, I've recently come across a way to set your favourite view as your default kodi view which means that you don't have to go through and change it manaully through all those menus. Setting my default Kodi view has saved me hours across all of my installations of Kodi. [Read: 6 Best Kodi skins in 2015 to enhance your media center]
The process is relatively straight forward, but you need to be comfortable editing .xml files. The examples I've used below are for a Windows install of Kodi, but the process is similar for machines running other operating systems, just the file locations will be slightly different. Check this Wiki page find the location of Kodi base folder in various operating systems. I've tried this process for both the Amber skin and the Titan MediaBrowser skin, both of which are Plex integrated skins, but it may work with other skins as well. [Read: Combine the best of Kodi and Plex with PleXBMC Addon]
Changing the Kodi Default View
This tutorial is compilation of my research from this Kodi default list view thread and changing default view mode thread on Kodi forums. To change the Amber default view and the Titan MediaBrowser default view you will need to open Windows Explorer and browse to the following directory, where (username) is your Windows login username and (skin) is either Amber or Titan depending on which skin you are using:
C:\Users\(username)\AppData\Roaming\Kodi\addons\skin.(skin)80i\
You will need to edit the MyVidoeNav.xml file by finding it and right-clicking and opening with an advanced text editor such as Notepad++ (or equivalent).
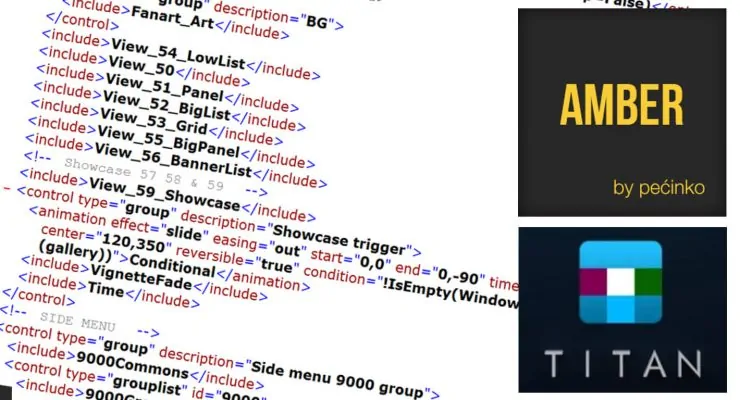
In this file, you will see a list of "views" which includes a number and description of the view which looks something like this for Amber (it looks a bit more elaborate for Titan):
   <include>View_54_LowList</include>
   <include>View_50</include>
   <include>View_51_Panel</include>
   <include>View_52_BigList</include>
   <include>View_53_Grid</include>
   <include>View_55_BigPanel</include>
   <include>View_56_BannerList</include>
   <!-- Showcase 57 58 & 59 -->
   <include>View_59_Showcase</include>
My favourite Amber default view is the low list. You will notice that view 54 corresponds with the low list view and that I have moved it to the top of the list. You will need to move your favourite view to the top of your list.
Edit the following and replace the number between the triangle brackets with the number of the view you wish to make default. As you can see, I've again used view 54 which corresponds to low list in the Amber skin.
<defaultcontrol always="true">54</defaultcontrol>
If you're using the Amber skin, that should be it. Your Amber default view will now be the one you set as default control and put at the top of the views list. [Read: 20 Best Kodi addons in 2015 to help you cut the cord]
If you are changing your default Kodi view for the Titan MediaBrowser skin you will also need to change the following line to start with your default skin. In Titan MediaBrowser, low list is view 515 so you can see below that I've changed it so that 515 appears first in this list.
<views>515,50,51,52,500,501,502,503,505,53,54,55,506,56,57,58,59,507,508,509,510,511,512,513,514</views>
Setting Kodi Default View - Things to Know
To conclude, there are a few considerations to keep in mind when using this method to establish your Kodi default view.
- This doesn't seem to work with the views under the music menu. There is another
.xmlfile calledMyMusicNav.xmlwhich I have tried editing, but I haven't been able to get to work. I'm going to keep searching for a solution and will post an update when I find something. However if anybody out there has found a solution please share with us! - Making these changes will set the default view for all of the menus and sub-menus meaning that if you haven't already manually set a view, the default view will prevail. If you do however, manually set a view, it will override the default. For example, I have low list as my default, but may prefer to use another view when browsing 'recently aired TV shows'. If I set the view to something else, it will remember and not revert to the default low list.
- The default view also appears to work within all video add-ons, such as IceFilms and Genesis also saving you time setting up those add-ons.
This method of setting the Kodi default view has saved me enormous amounts of time in getting my Kodi installs running the way I'd like. This should be useful in helping you get your Kodi default views working just the way you like them too.


![15 Best Plex Alternatives [2022] - FREE and BETTER Options Best Plex Alternatives feature image](https://www.smarthomebeginner.com/images/2022/08/best-plex-alternatives-feature-image.gif)
