I recently had to move WordPress blog from my old domain to my new domain (in other words my URL changed). I had a tough time updating all the existing links. Therefore, I decided to document the process in order to make future changes easy and to let other knows how I did it.
Changing the URL of the blog can have several detrimental effects. In my case, I lost traffic on my blog for a while. You also lose ranking on search results. But in my case the change had to be made. Anyway, without further delay, here are the steps:
Table of Contents
Step 1: Backup You Databases and Files
Before I do any changes to my databases, I always back them up. On Ubuntu Server, this is what I do to backup my databases:
sudo su
cd /var/lib
sudo cp -a mysql mysql.bak
exit
This will create a backup of all my databases into the folder mysql.bak. In case I screw up this is how I restore the backup:
sudo su
cd /var/lib
service mysql stop
rm -r mysql
mv mysql.bak mysql
service mysql start
Note the "sudo su" command is needed to gain access to the mysql folder.
Alternatively, you could use backup plugins such as Simple WordPress Backup or XCloner.
Now that the most important step is taken care of, let me proceed to explaining how actually I changed my WordPress blog URL.
Step 2: Install Search and Replace Plugin
The Search and Replace plugin allows you to search for and find strings in your database and replace the strings. You can search in ID, post-content, GUID, titel, excerpt, meta-data, comments, comment-author, comment-e-mail, comment-url, tags/categories and categories-description. It is possible to replace the user-ID in all tables and the user-login for more security in the WordPress-Application.
For convenience, you may use SSH / SFTP to install your plugin. The procedure to enable SSH / SFTP for WordPress is described in this post. After installation, you will find the plugin under "Tools".
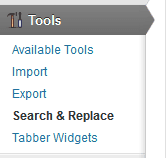
Step 3: Change URLs in WordPress General Settings
Go to WordPress General Settings and change the "WordPress Address (URL)" and "Site Address (URL)" to the domain name or URL you want and save the changes.
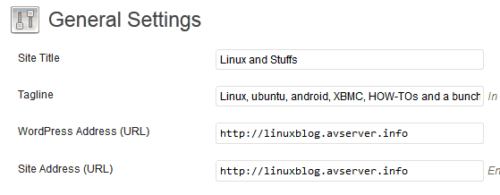
Now your WordPress URL/Domain Name should be changed and working. However, we are only half way through. In most cases the post URLs and the links will point to your old domain. Images may also not appear correctly. We will fix these in the next step.
Step 4: Search and Replace Old Domain Name with New Domain Name
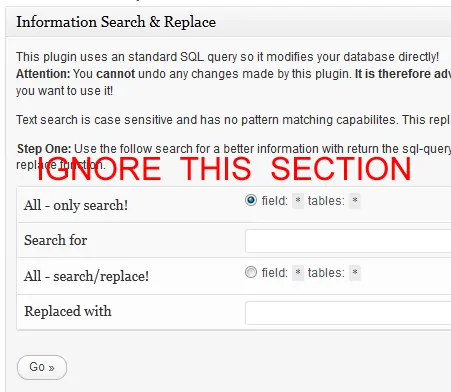
Remember that once done, changes in the step cannot be reverted. Therefore, exercise caution and care. Now, open the Search and Replace plugin page. Ignore the top section of the page shown in the first screenshot below.
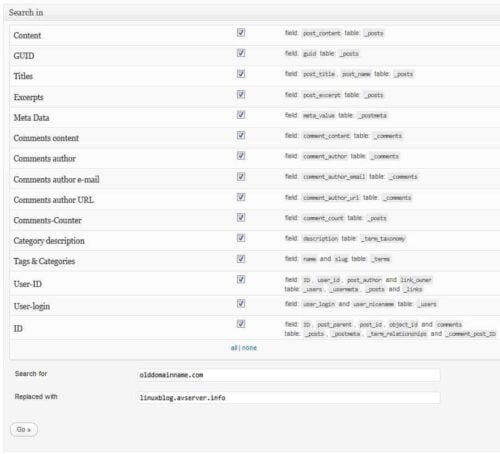
Move to the form at the bottom, click on "all" to check all the options. Then enter the old domain name and the new domain to which you want to switch too. Ensure that all the entries are correct. Then click on "Go" at the end of the page. After the changes are carried out you will a results page which will list how many changes were done. Now all the links within your WordPress database should be fixed and all your posts and images should appear correctly.
Step 5: Change any URLs in Theme Settings
Some themes have separate theme settings where you might specify URL for things like favicon etc. If you do have these don't forget to change those settings.
That is all there is to it. You may find several other methods in your research. Listed above is just one method that has worked for me at least 2 times. As always do your due diligence before attempting this as you may screw up your blog. Happy Blogging!


