Several geeks have been eager to run Ubuntu on Raspberry Pi from the day it was released. But the original Raspberry Pi was limited in power and hardware resources to support a full operating system without compromising user experience. The release of the new Raspberry Pi 2 changed this predicament. After 14.04 Trusty Tahr release installing Ubuntu on Raspberry Pi 2 has been possible with a customized image. And then came Snappy Ubuntu for Raspberry Pi. And now Ubuntu MATE brings Ubuntu 15.04 Vivid Vervet to Raspberry Pi. Note that Ubuntu MATE uses the MATE desktop environment that originated with Linux Mint, and not the default Unity desktop.
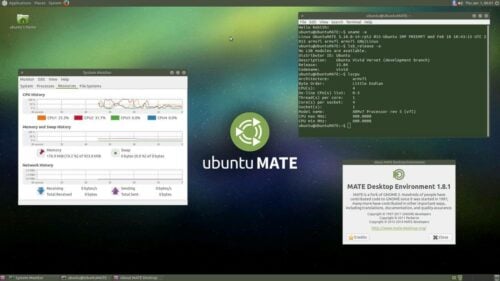
Table of Contents
Ubuntu on Raspberry Pi 2 with Ubuntu MATE
Snappy Ubuntu core is definitely an option of your want to load Ubuntu on Raspberry Pi 2. However, Snappy Ubuntu uses a different package management system and is different from mainstream Ubuntu in several other ways. Ubuntu 14.04 image is definitely an option. But the MATE is a development of the Gnome 2 desktop and is my preference over Unity, at least on low power devices. Enter Ubuntu MATE, now you can not only have MATE desktop but also get the latest Ubuntu 15.04 Vivid Vervet on Raspberry Pi 2.
The Raspberry Pi Ubuntu MATE image is based on Ubuntu armhf and not the new Snappy Ubuntu Core. This means that it functions the same way as the regular desktop version and uses the same package management system. So you will be able to use apt-get commands to manage your packages.
Setup Ubuntu on Raspberry Pi 2 with Ubuntu MATE
The current Ubuntu MATE 15.04 image for Raspberry Pi 2 made by Rohith Madhavan and can be downloaded from here. While you may also build your own image, for new users we recommend using the pre-made images.
A full installation guide will be published at some point but the steps are pretty easy. First download Raspberry Pi Ubuntu image from Ubuntu MATE. The file will be downloaded as ubuntu-mate-15.04-desktop-armhf-raspberry-pi-2.img.bz2. Pop in the micro SD card into your computer slot to setup Ubuntu on RPi 2.0 Model B.
Ubuntu for RPi 2 Setup from Linux
First, find out the device id of the SD card as /dev/sdX, where X is the device id. Then, use the bunzip2 command to extract the downloaded .bz2 file. Finally, write the extract .img file using the ddrescue command. The sequence of steps is shown below (of course replace the sdX with the current device id):
$ lsblk
$ bunzip2 ubuntu-mate-15.04-desktop-armhf-raspberry-pi-2.img.bz2
$ sudo ddrescue -d -D --force ubuntu-mate-15.04-desktop-armhf-raspberry-pi-2.img /dev/sdX
Ubuntu RPi 2 Setup from Windows
One windows, extract the downloaded .bz2 file using a program like 7zip. Then use an image write utility such as Win32 Disk Imager to write the extracted Ubuntu image to the SD card.
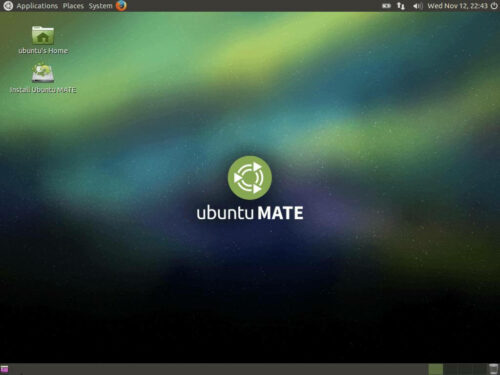
Running Ubuntu on Raspberry Pi
Throughput on a SD is no where near an HDD therefore having a good Class 10 micro SDHC card is key. The first time you boot Ubuntu on Raspberry Pi 2, you will have to through the setup wizard to create user account as you would on regular Ubuntu installation.
Upon writing the image to the SD card, not all space on the SD card will be used. You will have to manually resize the filesystem. Boot Raspberry Pi to Ubuntu MATE and run fdisk command to re-work partitions:
sudo fdisk /dev/mmcblk0
Delete the second partition (d, 2), then re-create it using the defaults (n, p, 2, enter, enter), then write and exit (w). Reboot the system, then issue:
sudo resize2fs /dev/mmcblk0p2
The above command will run for a few minutes. You can then verify the filesystem size with df -h command. Once your Raspberry Pi Ubuntu system is ready, the possibilities are endless. You can follow our guides to setup a Raspberry Pi Ubuntu server. Alternatively, you can use our AtoMiC ToolKit to automate your media center / home server setup. That is it. Setup Ubuntu on Raspberry Pi 2 and enjoy your cup of Ubuntu on Pi.


