In this post, I will show you how easy it is to install SickBeard on Ubuntu Server 16.04 and later using AtoMiC ToolKit. SickBeard is a TV Show PVR that pulls episode index files when they become available and passes them on to your download client for download. Download client could be a bittorrent client such as transmission or NZB newsgrabber such as SABnzbd. In addition, once downloaded, SickBeard can rename the file, move the episode to correct folder, and download supporting files such as episode information, thumbnails, etc. [Read: CouchPotato vs SickBeard, SickRage, or Sonarr for beginners]
Usenet is Better Than Torrents:
For apps like Sonarr, Radarr, SickRage, and CouchPotato, Usenet is better than Torrents. Unlimited plans from Newshosting (US Servers), Eweka (EU Servers), or UsenetServer, which offer >3000 days retention, SSL for privacy, and VPN for anonymity, are better for HD content.
| Provider | Rating | Features | Monthly | Yearly |
|---|---|---|---|---|
| Newshosting | >3000 days, unlimited, SSL, VPN | $9.99 | $99.99 ($8.33 / month) | |
| UsenetServer | >3000 days, unlimited, SSL, VPN | $9.99 | $99.99 ($8.33 / month) | |
| Eweka | >3000 days, unlimited, SSL, EU Servers | €7,50 (Special!!!) | ||
| For more plans that may fit your needs please read our Usenet plan selection guide. | ||||
Table of Contents
Install SickBeard on Ubuntu Server with AtoMiC ToolKit
Our step-by-step guide for SickBeard installation on Ubuntu details everything that AtoMiC ToolKit does. The beauty of AtoMiC ToolKit is, it automates almost all steps and makes it easy for newbies who are not comfortable with commandline or lazy enthusiasts (myself included). Some have used the toolkit to install SickBeard on Debian, although I have not personally verified this, yet.
Atomic ToolKit can also install alternatives to sickbeard such as SickRage or Sonarr. So let's begin.
1. Download and Run AtoMiC ToolKit
Trust me, this is the most amount of commandline work you will do in this guide. The good thing is, this has to be done only once for however many home server apps you decide to install and manage using the toolkit. Execute the following commands one at a time:
sudo apt-get -y install git-core
git clone https://github.com/htpcBeginner/AtoMiC-ToolKit ~/AtoMiC-ToolKit
cd ~/AtoMiC-ToolKit
sudo bash setup.sh
What the above commands do is first install git-core package, which is needed. Next command downloads the latest AtoMiC ToolKit. Using the final two commands you move to the toolkit folder and run it.
2. Agree to Disclaimers and Username
First of all, you will have to read and agree to some disclaimers. The script is safe to use and have been used by thousands. But we cannot guarantee its performance on all environments.

Next, provide the username of the user whom you wish run Sick Beard as. In the example picture above, it is "htpcbeginner". Then press enter to continue SickBeard Ubuntu setup.
3. SickBeard Installation on Ubuntu
From AtoMiC ToolKit main menu, select "SickBeard" as shown in the picture below.

Next, select "Install" and press enter to begin SickBeard setup.
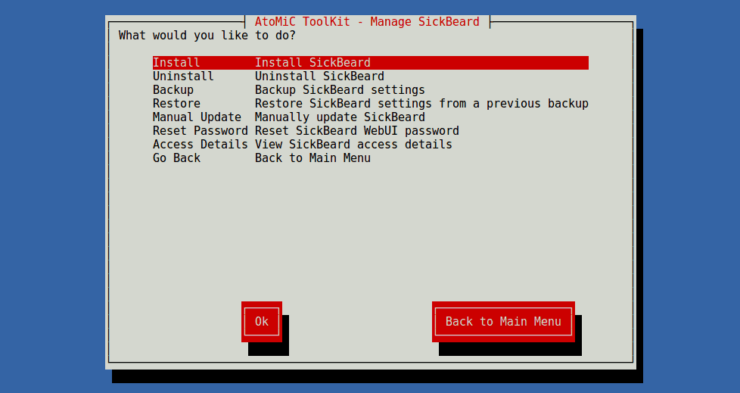
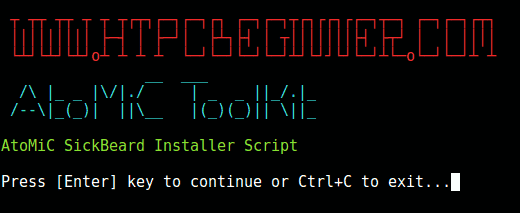
Once the script starts, ensure that it is the correct script (in this case "SickBeard Installer Script"), and press enter to continue.
Wait for the script to run through its steps. Once the Sick Beard installer script completes, read through the lines and make sure there are no glaring errors.
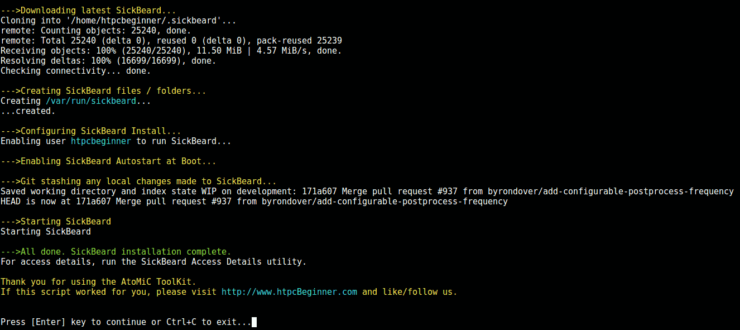
That is it, you are done with SickBeard Setup on Ubuntu. But wait, there are few minor things that might be of help to you.
4. Access SickBeard
If you are on the system that runs SickBeard then fire up your web browser and visit localhost:8081. If you are not the system running SickBeard or are confused about what URL to use to access SickBeard then AtoMiC ToolKit is capable of finding SickBeard access details for you. From SickBeard submenu, select "Access Details".
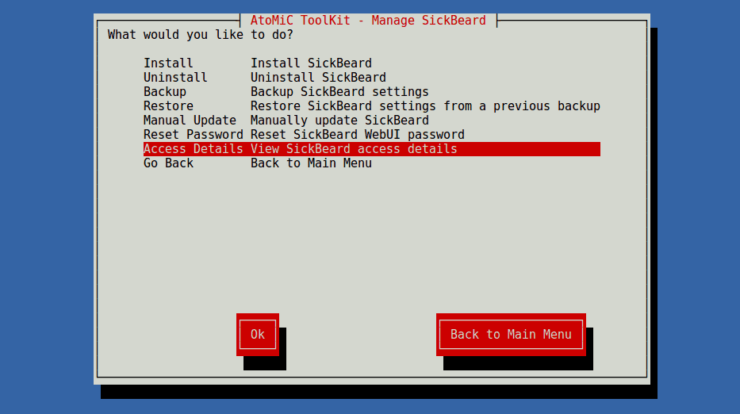
As shown below, the toolkit will run through various steps and spit out all URLs you can use to access SickBeard. Depending on your situation, use one of the suggested URLs to access SickBeard.
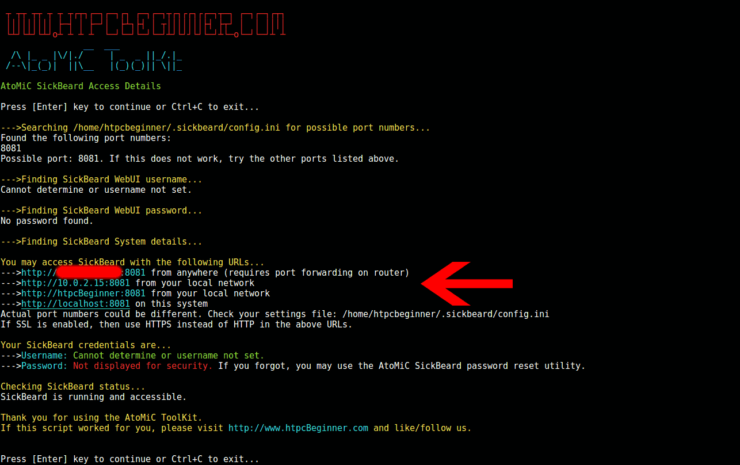
To connect to SickBeard over the internet and when your SickBeard system is behind an internet gateway (router), you will need to setup port forwarding on router. Doing so, will also allow you to use your smartphone or tablet to manage SickBeard. [Read: 5 Must have Android apps for HTPC or Home Server control]
5. Final Steps
If SickBeard installation on Ubuntu was successful, it should open up in the web browser as shown above. The show list is empty because, we have not added any yet. If you would like Sick Beard to update automatically, you may follow our SickBeard auto update guide. Furthermore, you can monitor Sickbeard using Monit to ensure that it is always up and running and you never miss an episode. Easy peasy, isn't it? Go ahead, install SickBeard on Ubuntu Server with AtoMiC ToolKit.




![Ultimate Docker Media Server: With 60+ Docker Compose Apps [2024] Ultimate Docker Media Server](https://www.smarthomebeginner.com/images/2024/01/Docker-Series-02-Docker-Stack.png)
