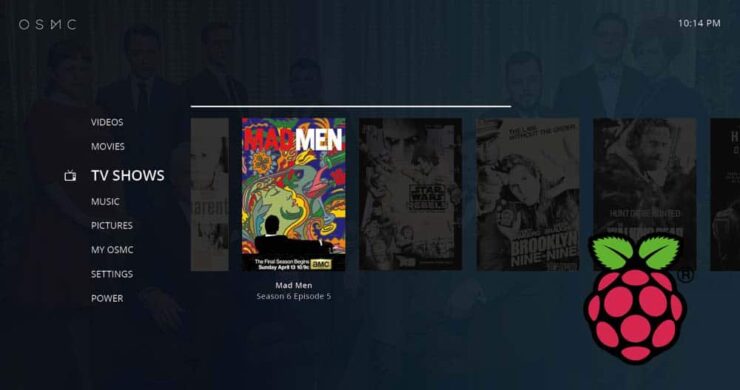
In this guide, I will show you how easy it is to install OSMC on Raspberry Pi 2 (and 1) on a Windows System. Raspbmc used to be one of the most famous media center OSes that brought XBMC / Kodi to Raspberry Pi. In fact, in my comparison Raspbmc offered several advantages over OpenELEC. Recently, Raspbmc evolved into what is now known as OSMC. A OpenELEC vs OSMC comparison is coming, but OSMC is similar to Raspbmc (and unlike OpenELEC) in the sense that it has a whole OS (Raspbian) underneath, which can be advantages in certain situations. OSMC also has a flagship device, Vero. But what if you don't have the Vero OSMC device and want to install OSMC on Raspberry Pi 2? This OSMC Raspberry Pi 2 and 1 windows guide will show you just that.
| Build a Low-Cost Raspberry Pi Media Center | Price |
|---|---|
| Raspberry Pi 4B Starter Kit with case, power adapter, and heat sinks | ~$82.00 |
| Sandisk Ultra 32GB Micro SDHC UHS-I Card 98 MB/s | ~$8.00 |
| SANOXY Wireless USB PC Remote Control Mouse for PC | ~$8.00 |
Download OSMC for Raspberry Pi 2 or 1
Like Raspbmc, OSMC comes with a Windows installer that makes installation much simpler. Head over the OSMC download page and download the OSMC installer for Raspberry Pi.
This guide will show you how to install OSMC on Pi2 on a Windows system. If you are on other systems, click the appropriate link. For Windows, download the OSMC installer, insert the SD card, and run the installer. Follow the onscreen instructions to complete OSMC installation to SD card. Choose latest OSMC version (currently RC2) to download and install. Note that everything on the SD card will be erased. [Read: 7 Raspberry Pi accessories to build a Kodi media center]
Install OSMC on Raspberry Pi 1 and 2
Once the preliminary OSMC installation to SD card is done, insert the SD card into RPi and boot it. OSMC setup will format the SD card and write OSMC image to it. Let the Raspberry Pi OSMC installation run and complete successfully.
After you install OSMC to Raspberry Pi 2 or 1, boot it and go through the initial setup. Choose the language, read through the agreement, and boom you should now be on the OSMC interface. You can watch the full OSMC installation process in the video below. [Read: How to install Addon Installer on Kodi (aka Fusion Installer)?]
How to install OSMC on Raspberry Pi 2 on Windows?
OSMC Kodi interface very simple and chose not to use the default confluence skin. You can install one of the many recommended Kodi skins or stick with the default OSMC skin. Next, take your OSMC Kodi media center to the next level by installing some of the top Kodi addons. So there you go, install OSMC on Raspberry Pi 2 and enjoy your new Kodi media center.


![8 Amazing Raspberry Pi Ideas [2022]: Beginners and Enthusiasts Raspberry Pi ideas](https://www.smarthomebeginner.com/images/2021/09/raspberry-pi-4-dev-board.jpg)

![15 Best Plex Alternatives [2022] - FREE and BETTER Options Best Plex Alternatives feature image](https://www.smarthomebeginner.com/images/2022/08/best-plex-alternatives-feature-image.gif)
![10 Best Plex Client Devices [2022] - STUTTER-free Streaming Best Plex Client Devices](https://www.smarthomebeginner.com/images/2022/02/best-nas-for-plex-server-featured-images-from-pexels-photography-maghradze-ph-3764958-e1648542743772.jpg)
![10 Best Media Server for Plex + one SURPRISING bonus [2022] Media Server for Plex](https://www.smarthomebeginner.com/images/2020/04/plex-free-movies-and-tv.jpg)
![10 Best Jellyfin Client Devices [2022] - 4k, Hardware Transcoding, etc. Jellyfin Roku App](https://www.smarthomebeginner.com/images/2021/02/jellyfin-roku-client-app-ft.jpg)