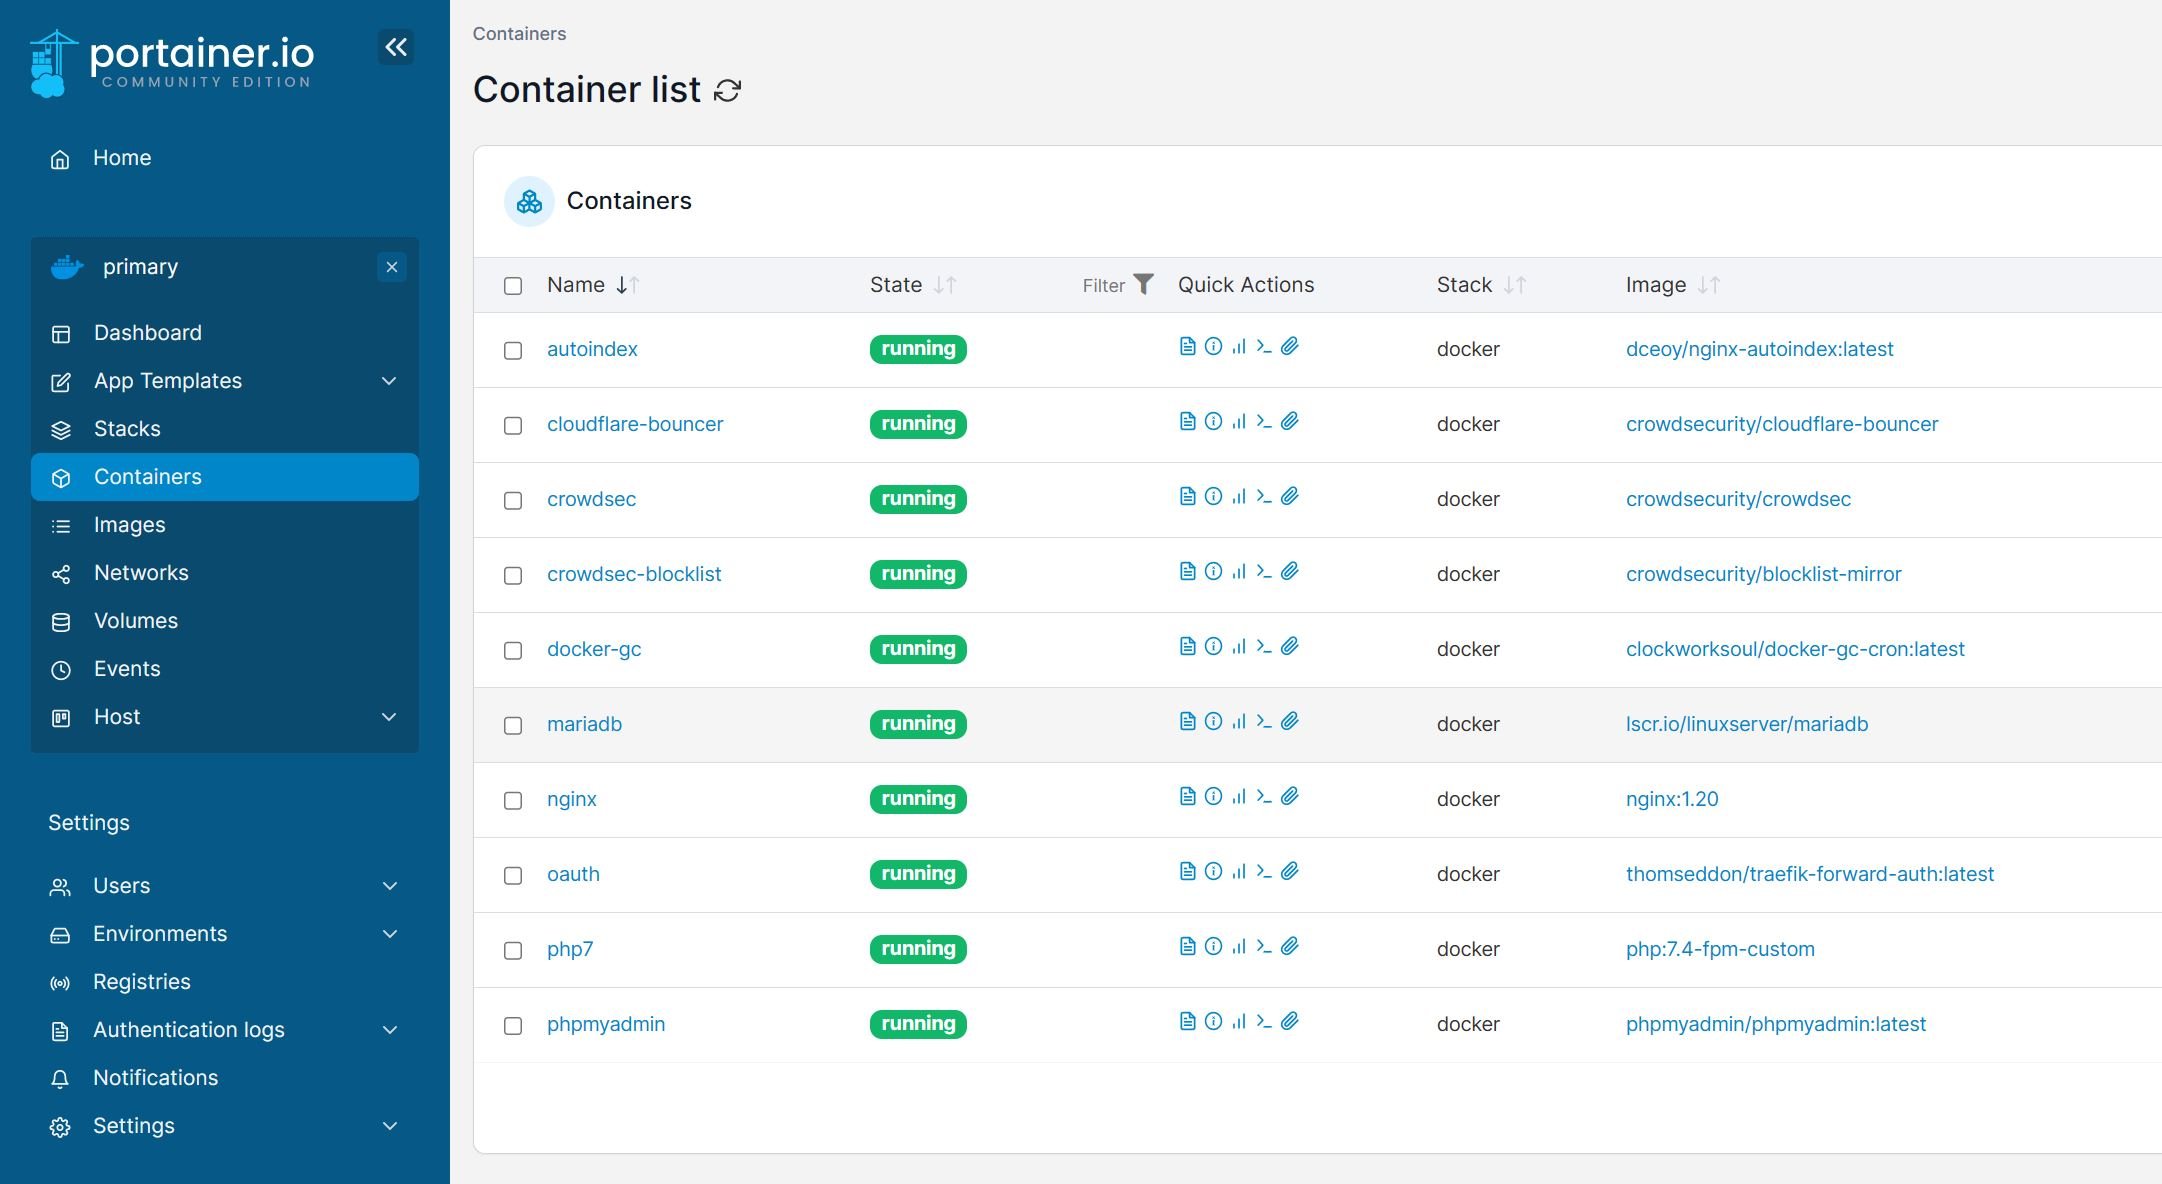
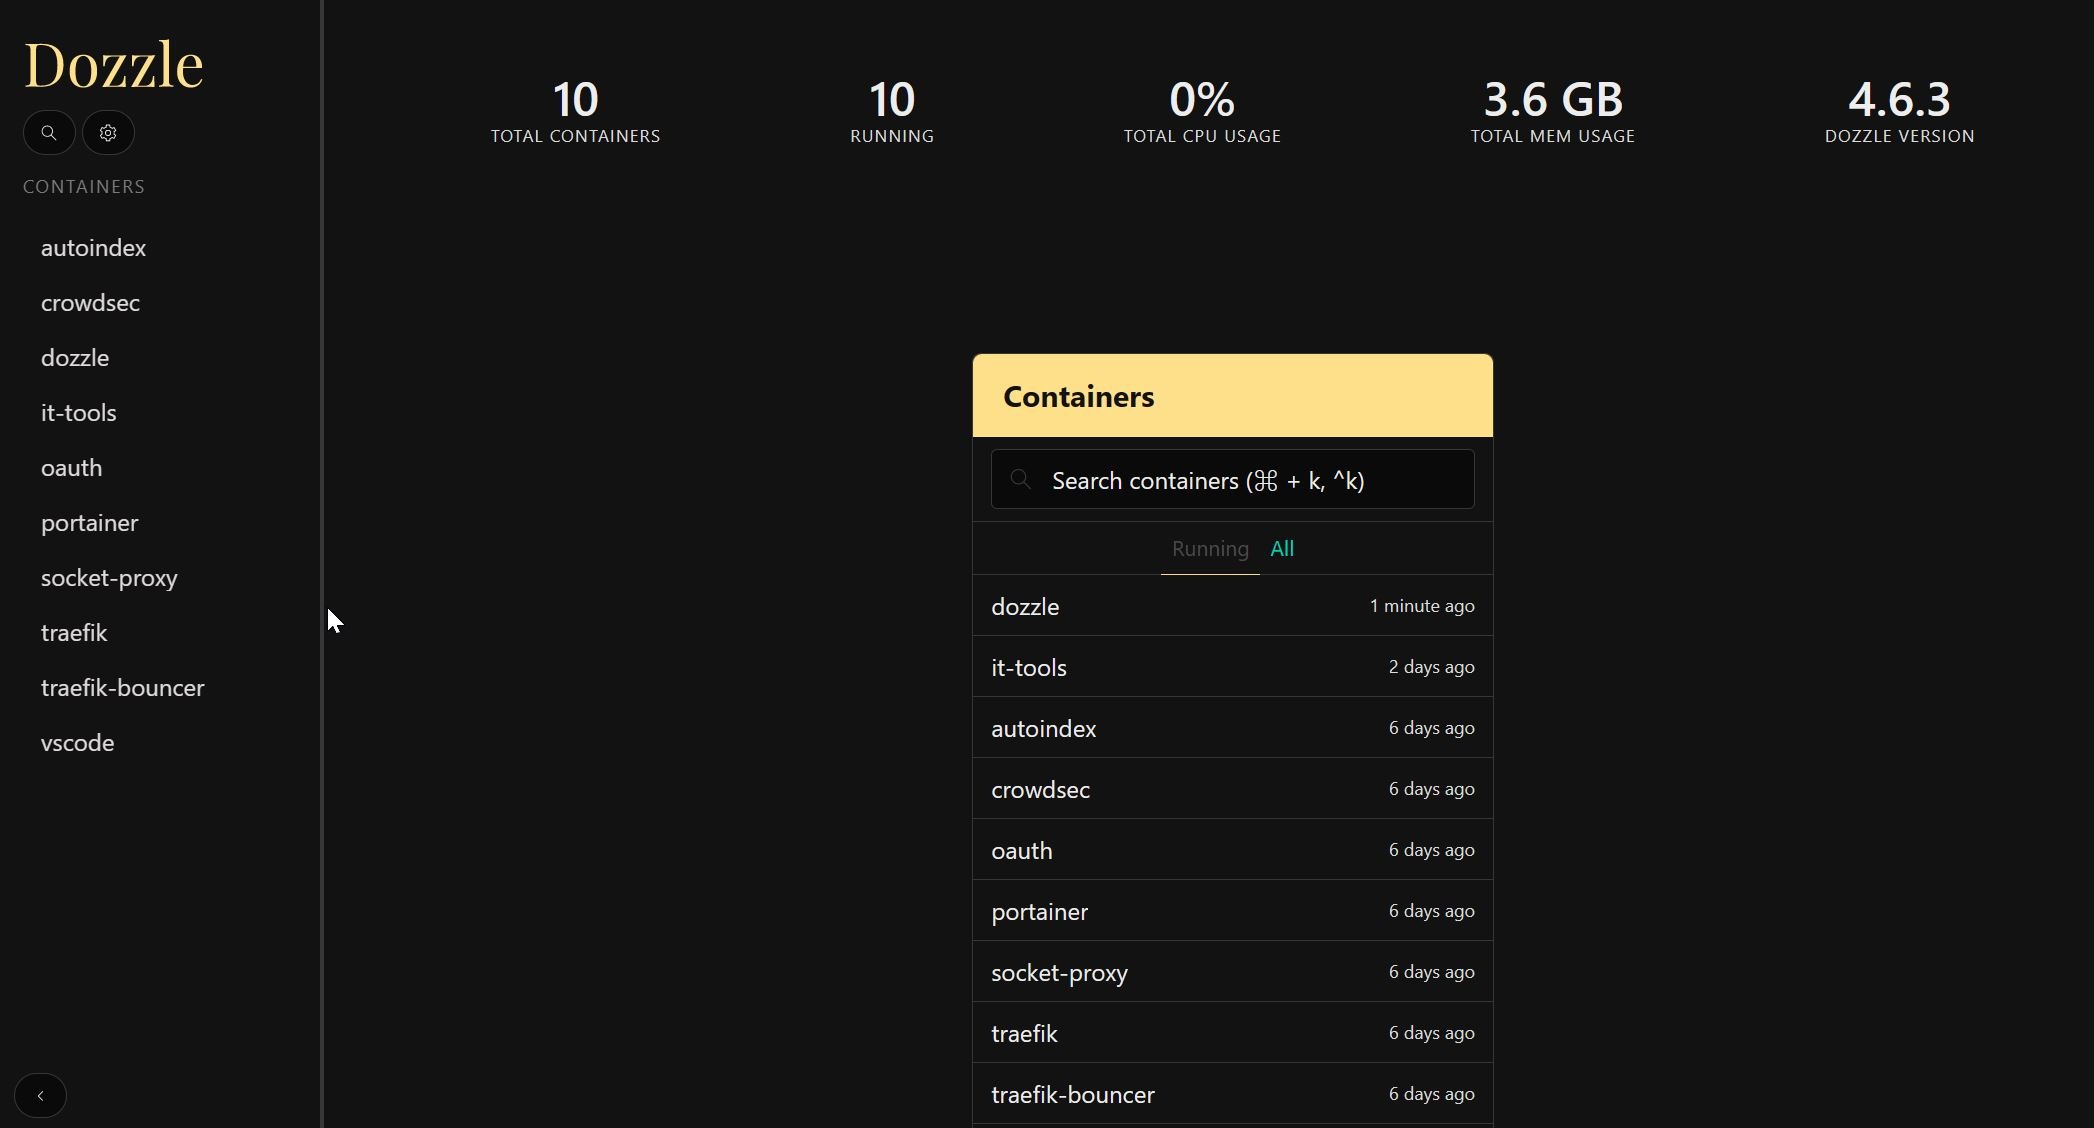
In our previous posts, you learned how to install Plex in Docker, which allows you to organize and stream your media library easily. Additionally, you learned how to install Transmission using Docker for downloading torrents. But wouldn't it be nice to have all your services gathered in one location, with an easy to remember the link? Today you will learn how to install Organizr using Docker in just a few minutes. Organizr is a web-based application that tries to act as a hub for all your service web interfaces. By using Organizr, you don't need to remember all ports from all your services. After you setup Organizr in Docker, you will have a centralized portal to control all apps running on your server. Learn how to install Organizr using Docker in just a few easy steps.
Must Read: Docker Media Server Ubuntu: Compose for 23 Awesome Apps
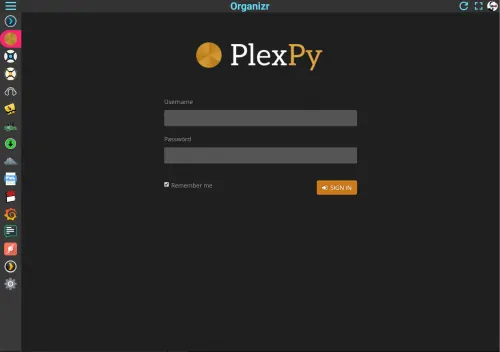
Table of Contents
Install Organizr using Docker
If you do not know what Docker is, be sure to read our what Docker is and how it compares to VirtualBox in advance and get familiarized with the terms used. [Read: What is Usenet and why is it better than Torrents?]
Prerequisites
Before starting the Docker Organizr installation guide, make sure to follow our previous guides where you can learn to Install Docker on Ubuntu, Windows 10 Pro/Ent, and Windows 7 and 8.
You can install Organizr using Docker in a new Docker container from scratch. But, ready-made containers are already available for several apps on Docker Hub. Therefore, all you need to do is pull those containers and install. If you are ready, open Docker command prompt and get ready to setup Organizr in Docker.
Surfshark VPN Exclusive Offer - 82% off ($2.39/month):
♦ Hide your browsing (no logs), Anonymize Streaming and Downloads
♦ Wireguard Protocol support for VPN.
♦ Circumvent Geo/Country Restrictions and access worldwide content
♦ Works on Windows, Mac, Linux, Android, iOS, Router, and more
♦ 1 TB Encrypted Storage
♦ Money back guarantee - Sign Up Now
Setup Organizr in Docker
1. Organizr Pull Command
To install Organizr using Docker, you will first need to grab the latest version of Organizr container from the community linuxserver Docker Hub. LinuxServer is a Docker repository with several HTPC and home server app containers.
sudo docker pull lsiocommunity/organizr
Pull the ready-made Organizr docker container using the above command.
2. Set Organizr Configuration Parameters in Docker
After pulling the container with the latest version of Organizr, we need to configure the usage parameters such as download folders, port number, etc. for the service. Copy all lines in the code block below (it is one single command) and paste it into docker prompt.
sudo docker create --name=organizr \
--name=organizr \
--restart=always \
-v /home/docker/organizr/config:/config \
-e PGID=1001 -e PUID=1001 \
-p 8899:80 \
lsiocommunity/organizr
While you can just copy and paste the settings mentioned above, I recommend that you understand each parameter using the description below and customize it to your liking, in order to setup Organizr in Docker. Therefore, before issuing the above docker command, change certain parameters (eg. port number, folders, etc.) to fit your situation.
sudo docker create --name=organizr \- Creates a new docker container with the name "organizr"--restart=always \- Starts the Organizr container automatically during boot. If you don't want the container to be started automatically, you can skip this command.-v /home/docker/organizr/config:/config \- Specifies the location of the Organizr config files. In this case, the config folder is located in /home/docker/organizr/ directory.-e PGID=1001 -e PUID=1001 \- Specifies the user id in order to minimize permission issues that can arise between the host OS (Ubuntu) and the container.-p 8899:80 \- Specifies the ports used by Organizr. In this case, the port is 8899
3. Start and Stop Organizr Container in Docker
If you used the correct parameters, you can go ahead and start the Organizr container you have just created, using the following command.
sudo docker start organizr
After starting the Organizr Docker container, you will be able to open the web interface on port 8899. In my case the ip is http://192.168.0.108:8899.
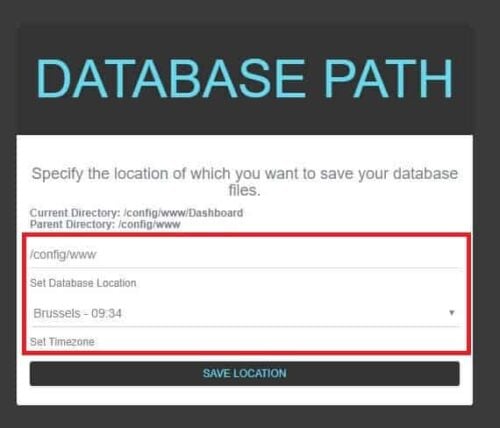
First thing you will need to configure after you install Organizr using Docker, is the database location and Timezone. Leave the database location as configured, and select your Timezone.
Next, create a strong administrator account for Organizr.
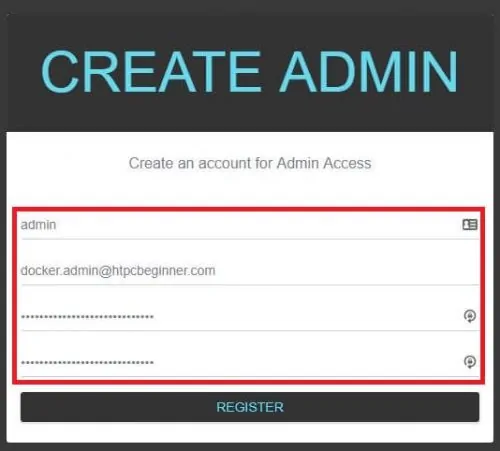
If the configuration is correct, you will arrive at the Organizr homepage where you can start adding your services.

Organizr is now installed in Docker: What to do next?
Congratulations! You managed to setup Organizr in Docker successfully. Once Docker is set up, it is extremely simple to create and destroy containers with apps. If you want to be able to access the Organizr interface outside your home network, be sure to setup port forwarding on your router. You will have to forward the Organizr port to the local/internal IP address of the system with Docker installation.
Next, you can install Sonarr in Docker or Sickrage to manage your media library (if you haven’t done that already), or you can also learn how to install RuTorrent in Docker. Check back soon to learn more about Docker and how you can install various other services in Docker containers.



![[Video] Install Docker and Docker Compose on Ubuntu - Don't Do It WRONG Video Thumbnail: Install Docker on Ubuntu (with Compose) – Don't Do It WRONG](https://www.smarthomebeginner.com/images/2023/03/install-docker-on-ubuntu-with-co-1.jpg)
