We already shown how to install Headphones on Docker commandline, which works on all platforms: Windows, Linux, and Mac. Headphones is an automated music downloader. For people who don't prefer commandline, we presented Kitematic Docker GUI for Windows. In this post, I will show you how simple it is to install Headphones on Docker using Kitematic GUI for Docker engine. Unfortunately, at this point, there is no Kitematic like tool for non-Windows environment. Therefore, you can only install Headphones using Kitematic on Windows systems.
Must Read: Docker Media Server Ubuntu: Compose for 23 Awesome Apps
Table of Contents
Install Headphones on Docker using Kitematic
If you still do not know about Docker, I strongly recommend our guides on what is Docker and its installation on Windows and Ubuntu. In short, Docker allows installing home server apps such as Headphones as self-contained containers, making it easy to install and manage them. No complicated Headphones setup procedures. So, without further ado let's see how to install Headphones using Kitematic Docker GUI.
If you have not setup Kitematic yet, follow our Kitematic Windows Guide to set it up first.
| Provider | Rating | Features | Monthly | Yearly |
|---|---|---|---|---|
| Newshosting | >3000 days, unlimited, SSL, VPN | $9.99 | $99.99 ($8.33 / month) | |
| UsenetServer | >3000 days, unlimited, SSL, VPN | $9.99 | $99.99 ($8.33 / month) | |
| Eweka | >3000 days, unlimited, SSL, EU Servers | €7,50 (Special!!!) | ||
| For more plans that may fit your needs please read our Usenet plan selection guide. | ||||
1. Search for Headphones Docker Hub Container
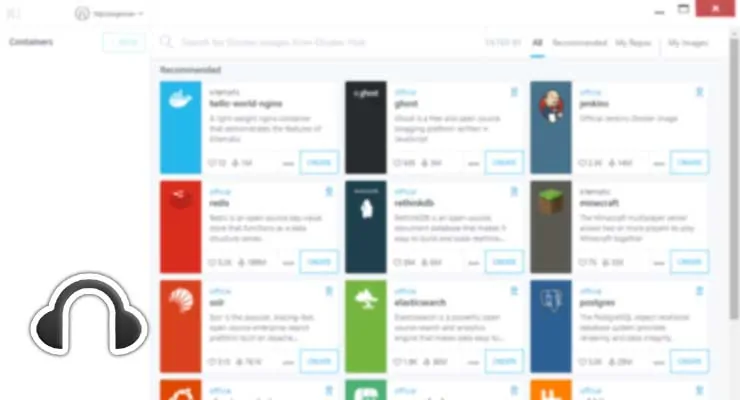
Once Kitematic is open and connected to your Docker engine. Search for "Linuxserver Headphones" in the search box as shown in the picture below.
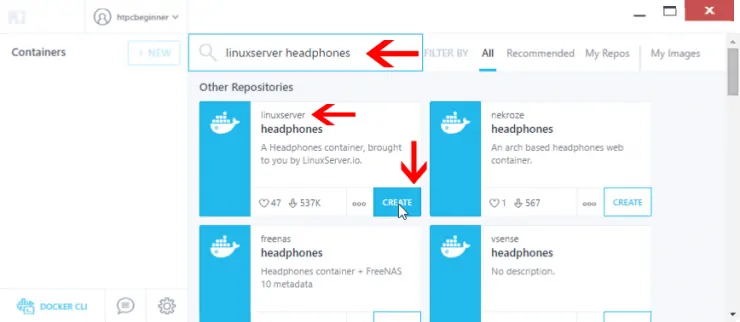
There are several Headphones container images available on Docker hub. We are going to install LinuxServer's container. If you want to see all available Headphones containers, search for just "Headphones". I typically get the containers with high like and download numbers. LinuxServer's containers are widely used (Needo is another good one). You may certainly try other containers. Remember, one of the advantages of Docker is that it isolates containers from the base OS and therefore you cannot damage your OS. [Read: AtoMiC ToolKit – Automate your Media Center]
2. Create New Headphones Container
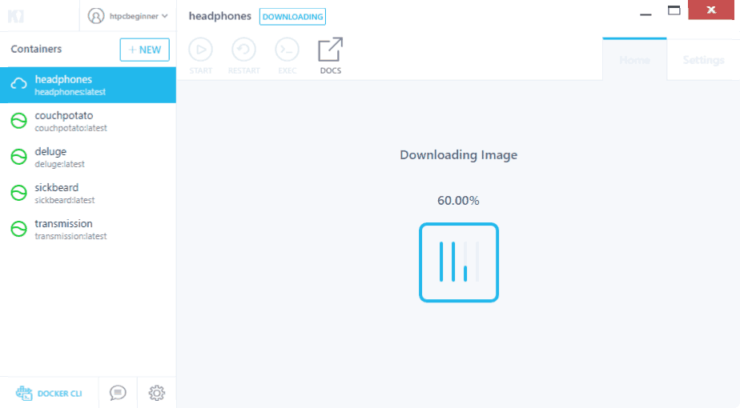
Once your figure out which Headphones container image you want to use (in this case LinuxServer's), hit the "Create" button as shown in the picture above to install Headphones on Docker. The Headphones container image will start to download as shown below.
3. Setup Headphones using Kitematic
Once Headphones Docker Hub container image is downloaded, Kitematic will use the image to create a new container with Headphones. Wait for the container setup to complete.
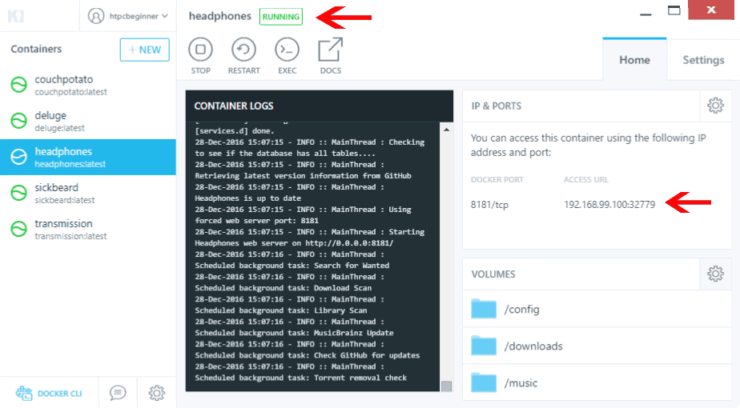
When done, you will see the "RUNNING" status and the Headphones access URL and port, as shown in the picture above.
4. Setup Docker Volumes for Headphones
You want Headphones to be able to download music and move them to correct folder. By default, Docker containers will save any data in the containers folder in C Drive and Headphones won't have access to folders outside that. This may or may not be the right place or have enough space, depending on your situation. But the chances are you have a specific download folder and a Music folder. Hit the "CHANGE" button and setup the path for "downloads" (where Headphones downloads content) folder and "music" (where the music track is finally moved to and organized) folder, as shown below.
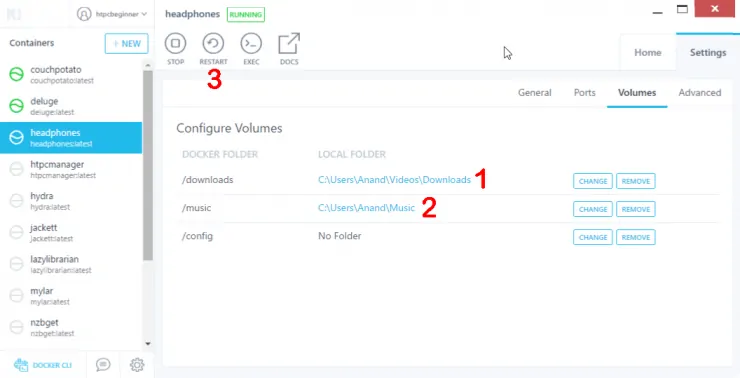
Do not setup a folder for "config" as this often leads to Headphones database corruption. Once done, hit "RESTART" for the new settings to take effect.

5. Change Headphones Port Number
Before accessing Headphones, I recommend changing MAC IP:PORT. Under Settings -> Ports for the Headphones container, you can change the access port to the default port number or anything of your liking. If I let Docker decide the port number, I noticed that sometimes the container does not start, possibly due to port conflicts. While manually changing, if you choose a port number that is already being used by another service, Kitematic will notify you. You will then have to choose a different port number. In this case, I set the MAC IP:PORT for Headphones to 8181. This allows you to set port forwarding on your router and access Access Headphones on Browser from outside your home network. Make sure to restart your container after making the port change.
Access Headphones Container on Docker
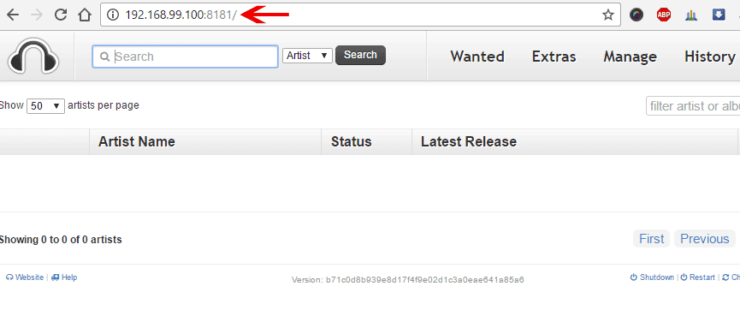
You may then access Headphones on your web browser using the URL or Link displayed in the "Home" tab or under "Ports".
If Headphones opens up in your browser as shown above, you are all set. Notice how much more simple it is to setup Headphones using Kitematic than commandline? Now you can go ahead add Music that you want and start enjoying them on your media center. Sounds exciting? Go ahead install Headphones on Docker using Kitematic GUI and make your home server better.


![[Video] Install Docker and Docker Compose on Ubuntu - Don't Do It WRONG Video Thumbnail: Install Docker on Ubuntu (with Compose) – Don't Do It WRONG](https://www.smarthomebeginner.com/images/2023/03/install-docker-on-ubuntu-with-co-1.jpg)
