Thunderbird is a free email application that's easy to set up and customize - and it's loaded with great features! It is an open-source, cross-platform email and news client, which means it works well on multiple OSes, including Windows and Linux. In my case, I dual boot Windows 7 and Linux. My mails are stored in a shared NTFS drive. Thunderbird is installed on Ubuntu and Windows 7 and shares mail data on both platforms. So whether I load Thunderbird on Windows or Linux, my mails are always synced. Anyway, I have multiple people at home using Thunderbird as their email client. Therefore, my Thunderbird has multiple profiles and they are stored in non-standard locations on my drive. Having separate shortcuts to each profile speeds up checking emails. In this post, I will describe how to create shortcut to Thunderbird profile located in the standard location (C Drive) and non-standard location (other than C Drive) on Linux. To create shortcut to Thunderbird profile on Windows, check this post.
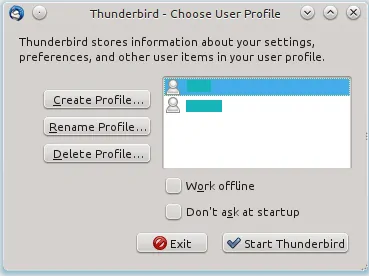
The default Mozilla Thunderbird profile chooser looks like this:
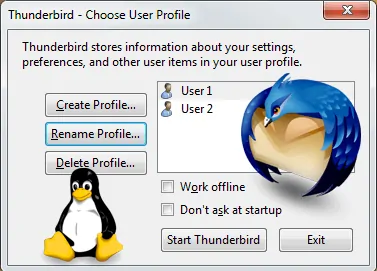
Shortcut to Thunderbird Profile on Linux
Instructions below are for Kubuntu, however, they should work on most desktop environments. On your Linux desktop environment, right-click on an empty area and choose Create New->Link to Application.
A window will pop up where you will enter settings for the shortcut icon. In the General, enter a name for the shortcut. In the example below it is User 1:
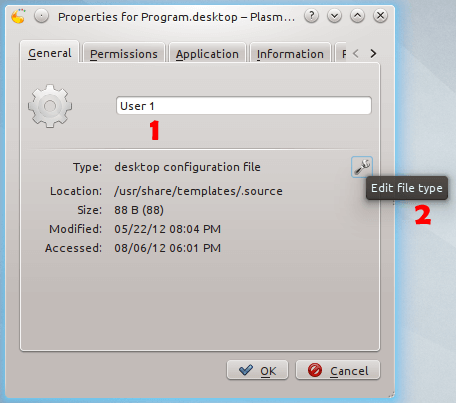
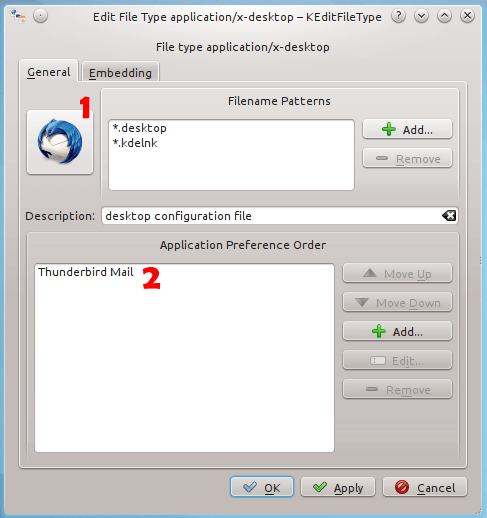
Then click on the Wrench (Edit File Type) icon. In the window that pops up, you can choose an icon either from existing icons or choose your own (.png file). Then under General, click "Add" and choose "Thunderbird" for Application Preference Order. Using the Move Up button ensure that "Thunderbird" is on top of the list.
Click OK and exit the current window. Then move to the Application tab:
Provide a description for the shortcut. Finally under command, enter the following line:
thunderbird -no-remote -profile "/home/user/Mails/4wy8pnif.default"
/home/user/Mails/4wy8pnif.default is the location where the user's Thunderbird profile (in this example it is 4wy8pnif.default)is located. Different users will have different profile folders. Note that the path shown above is not the default path. It is where my Thunderbird profile is located on my computer. In many cases, profiles are stored in the user's home (/home/user/.thunderbird). I moved my mails to a custom location (a drive other than home folder) because I wanted profile folder to be shared with Thunderbird on my Windows partition. There in my case (as shown above), the mails are in a mounted NTFS partition. You may or may not decide to do the same. If you want to keep your mails in your home folder then choose the following command instead of the one above for your shortcut:
thunderbird -no-remote -profile "/home/user/.thunderbird/4wy8pnif.default"
Do not forget to set the path to your profile folder and replace the word user with your Linux username.
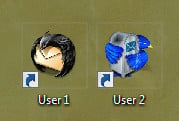
Similarly, create shortcut to Thunderbird profile for all the users, each pointing to a different profile folder. Continue through the process to finish creating the shortcuts. You may name the shortcut with the names of the users for easy identification. You may also customize the icons as well as shown in the picture below:
Create shortcut to Thunderbird profile and enjoy your now even more awesome Thunderbird. Hope this helped!



![30 Best SSH Clients for Windows [2022]: Free and Paid Best SSH Clients for Windows featured image](https://www.smarthomebeginner.com/images/2022/11/image-by-geralt-9301-gerd-altmann-from-pixabay-dotcom-matrix-2883623-1280.jpg)


