I regularly backup my WordPress files and the MySQL database on my internal network. While this is safe, what about emergencies where I lose my server and my backup drive? This though drove me to come up with a online WordPress backup solution. One of the first online storage service that struck my mind was Google Drive, which offer 5 GB of free storage. This is plenty for my applications. In this post, I explain how to setup automatic WordPress backup to Google Drive.
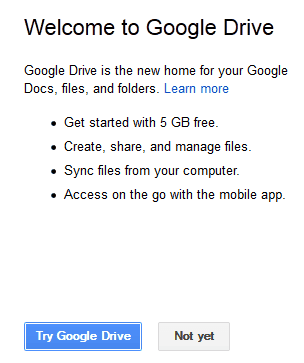
Before we begin, create a Google Drive Account. If you already have a google account, then just visit http://google.com/drive and click "Try Google Drive".
Table of Contents
Step 1: Install Google Drive for WordPress Plugin
The Google Drive for WordPress plugin can make backups of your WordPress files and Mysql DB to Google Drive. Backups are 'zip' archives created locally and uploaded to a folder of your choosing on Google Drive.
Step 2: Configure Google Drive for WordPress Plugin
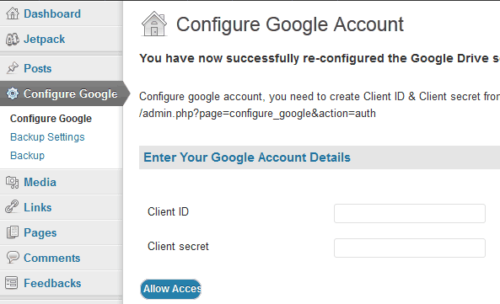
Activate the plugin. Then go to "Configure Google" option from your dashboard to see the following settings page:
There are few things from this page you will have to use. So keep this window open and proceed to next next step.
Step 3: Signup for Google API Console and Create a Client ID and Secret
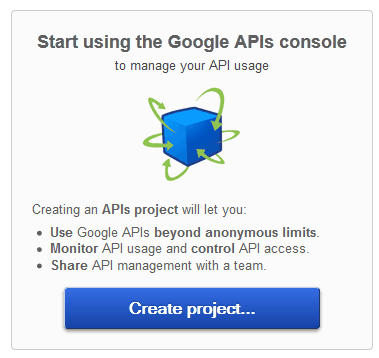
The Client ID and Secret allows applications to access your Google account and services. Visit Google API Console. If this is your first time visiting Google API Console, you may have to "Accept" the Terms of Service to proceed further. If you have not already created a project, you will have to create one. All you have to do is click on "Create Project".
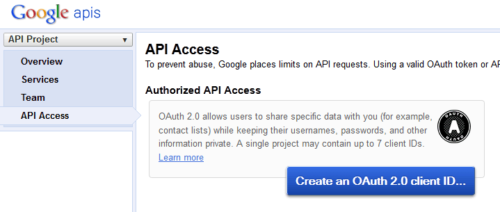
After creating a project you will have to create a OAuth Client ID. All you have to do is click the "Create OAuth 2.0 client ID" button.
In the window that opens up, provide the branding information. Optionally, you may also provide the URL to your logo. Click "Next".
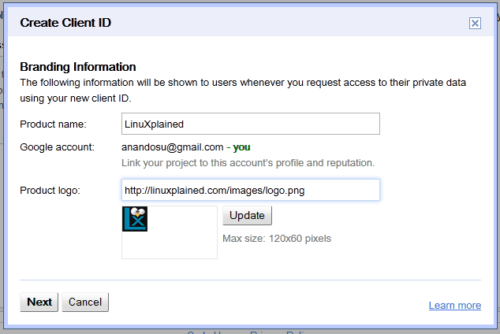
Choose "Web Application". Then choose "http://" and enter the domain name of your WordPress site. Then click "Create client ID".
Your created client ID will look something like this:
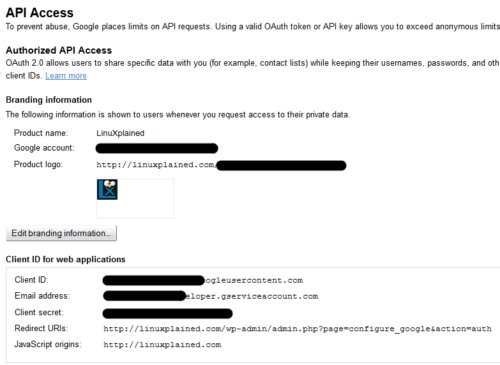
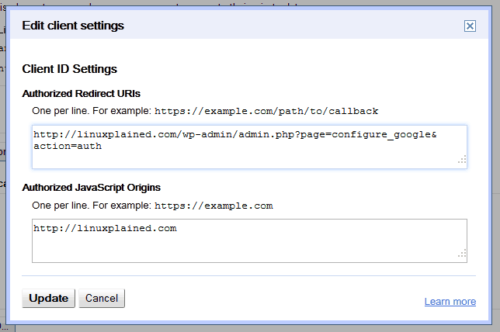
For the client ID that you just created under "Client ID for Web Applications", click "Edit Settings".
Then, go back to the window that you left open in Step 2. Copy the "redirecting url" highlighted in the image below.
Now go back to the "Edit Client ID Settings" window. Under "Authorized Redirect URLs", replace the existing URL with the one you copied in previous step.
Click on "Update". You are now done with setting up a Client ID and Secret. Leave this window open as you will have to copy the Client ID and Secret.
Step 4: Configure Google Drive for WordPress
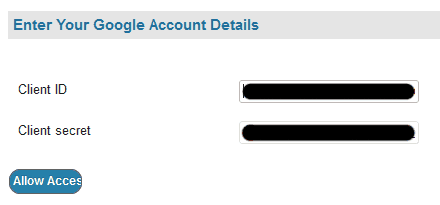
Go back to "Configure Google" window and enter your API credentials copied from previous step.
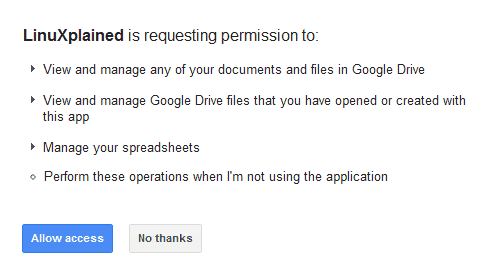
Click on "Allow Access". You may have to login in (if you are not already logged in) and allow your site to access your Google Drive.
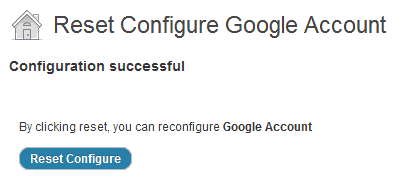
Once the authentication and connection are complete, you will be returned to your "Configure Google" dashboard page and will see "Configuration Successful". In future, if you have to reconfigure the backup to a different account, you may do so from this page.
Then in the "Backup Settings" section you may choose the folders you want to backup, whether or not to backup MySQL database, and finally the backup schedule.
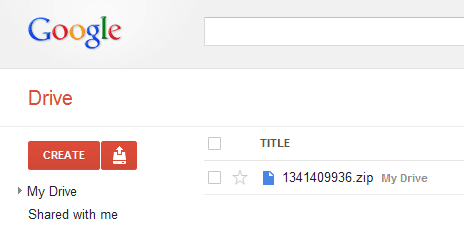
Save the settings and you are done. If you would like to backup now then click the "Backup" link under "Configure Google". Backups are created with the unix timestamp in the file name. The example image below shows a zip archive that was created on Wed, 04 Jul 2012 at 13:52:16 GMT.
Troubleshooting
If you have a Cache plugin or a CDN running (e.g. CloudFlare) you have to disable/pause those temporarily until Google API access is configured successfully. If you choose to reconfigure but decide to use the same google account, then you will have to create a new Client ID and Secret (old one will not work).
Thats it! Setup automatic WordPress backup to Google Drive and enjoy the peace of mind.

