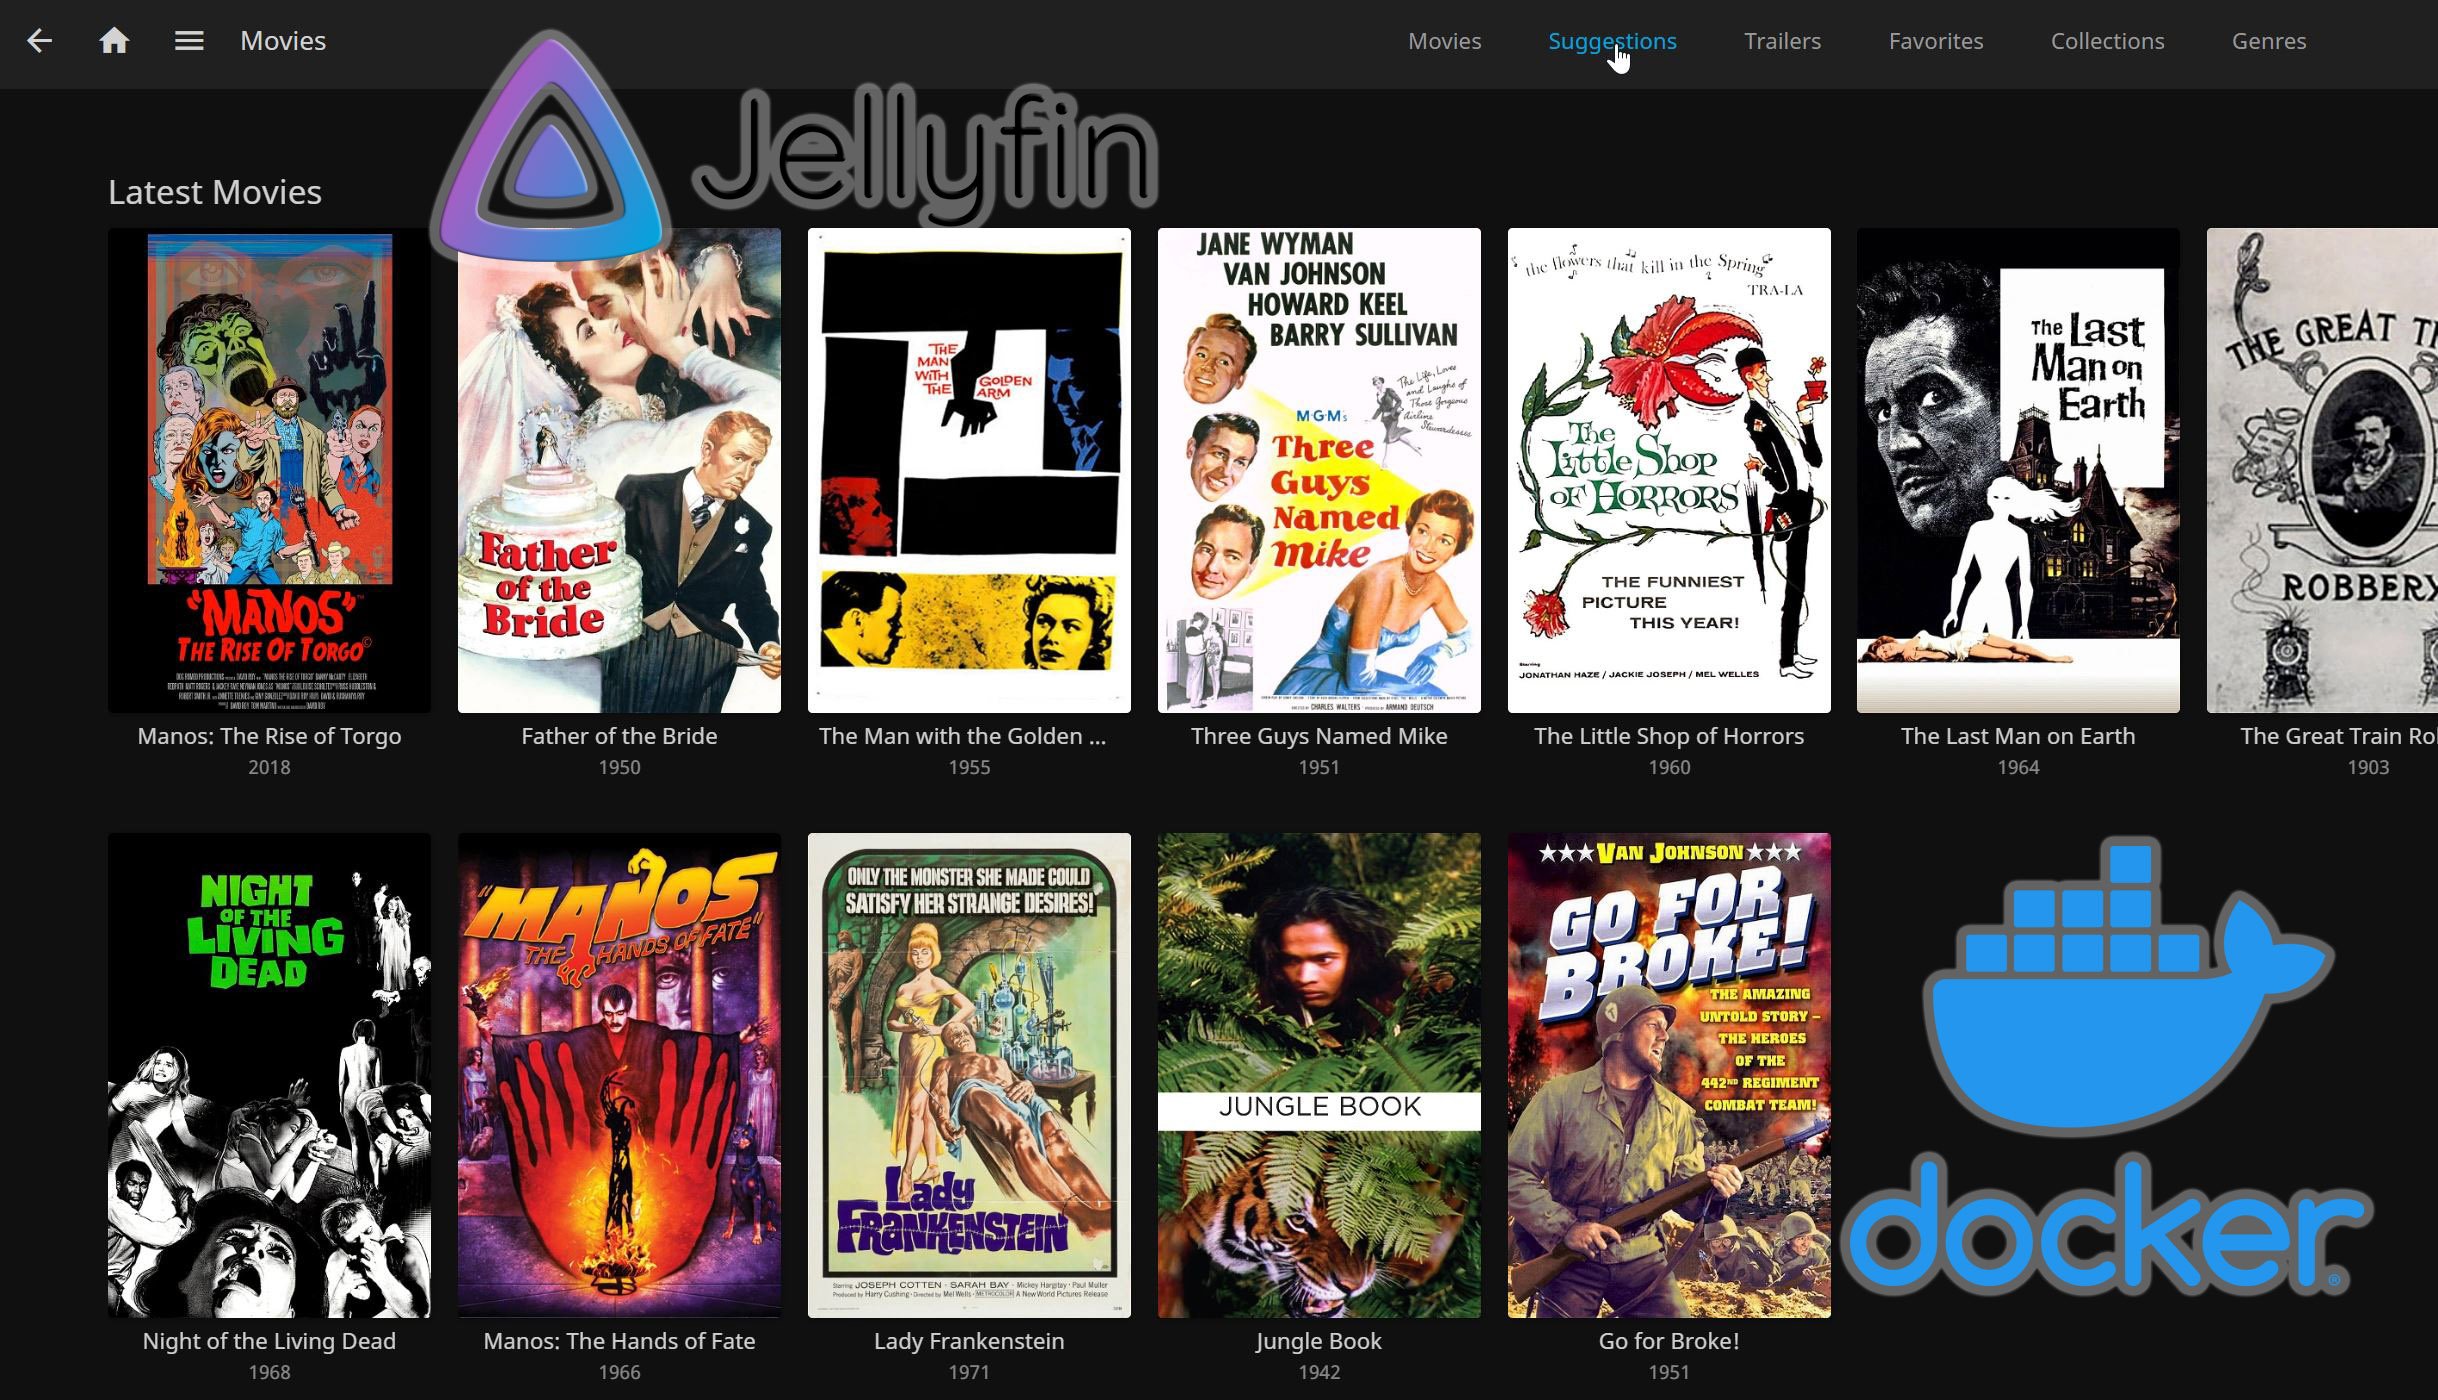
Always wanted to come home to all your tv shows right at your fingertips? Never want to sit at your computer for hours getting everything configured? You're at home here! In this guide we will use 4 programs running on Ubuntu Server 14.04. I assume you are starting with a formatted computer. We will be installing Ubuntu Server followed by Kodi, SABnzbd, Sonarr, and CouchPotato.
If you are not familiar with Ubuntu Server it is basically a version of Ubuntu that has been stripped down to the base necessities to run. There is no desktop or GUI. Dont worry though, this is just a starting point. When we are done you will have a quick starting beautiful media center. [Read: Install Ubuntu Server 14.04 Trusty Tahr as a home server]
Table of Contents
Easy Kodi, Couchpotato, Sonarr, and Couchpotato installer
The first piece of software we are going to install on Ubuntu is Kodi. Kodi is the new name of XBMC. It is a great piece of work that will bring all your media to life in no time. If you want more info on Kodi check out http://kodi.tv
After we install Kodi we will install SABnzbd (Usenet Downloader), Sonarr (TV grabber), and CouchPotato (Movie Grabber). With these three apps all your favorite tv shows and movies will be automatically downloaded and organized so they appear just right in Kodi.
Before proceeding please review our disclaimer. Lets get started!
Get a computer
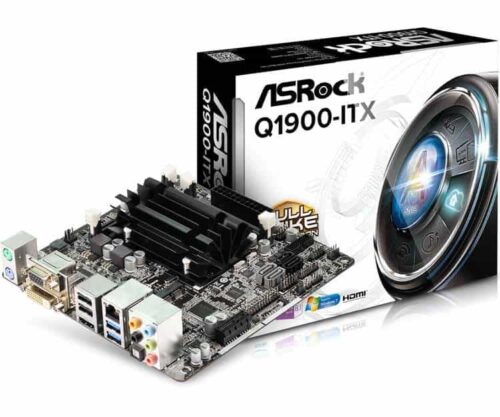
The first thing we need is a computer. There are tons of options out there. You don't need a whole lot for this project. I personally use the ASRock q1900-itx motherboard mounted in a closet with two 2TB USB 3.0 HDD. It is a basic dual core Intel Celeron based all in one motherboard with 4GB of ram. It runs Kodi, SABnzbd, Sonarr, and Couchpotato without breaking a sweat. I can play full lossless dts videos without a hitch. Check back for a review and tour of my setup. [Read: Low-power budget HTPC build 2014 for a HTPC NAS Combo]
Since keeping a keyboard on the couch is not all that appealing I suggest a remote. Any MCE remote with a USB receiver will do. Ebay is a great source for these. I have the GP-IR02BK. E-bay is a good source, these work straight out of the box and are easy to use. [Read: A simple yet awesome IR XBMC remote control for $5]
The first thing we need to do to start is install Ubuntu Server 14.04.1 LTS which is available here: http://www.ubuntu.com/download/server. You can burn this to a CD or use The Universal USB Installer program for windows to make a thumb drive installer. Boot to the CD/USB and install Ubuntu. We have already shown you the Ubuntu Server installation process. The only important options are:
- The username has to be "kodi". All lowercase. You can create another user after the install if you need it but for this guide all we need is the kodi user. You can set any password you want but one must be set.
- DO NOT encrypt your home directory. This requires a password at start and you wont have any way to enter it.
- When the installer asks you to select additional applications to install select OpenSSH.
Let the installer finish and restart. [Read: The easiest way to install Ubuntu Server from USB]
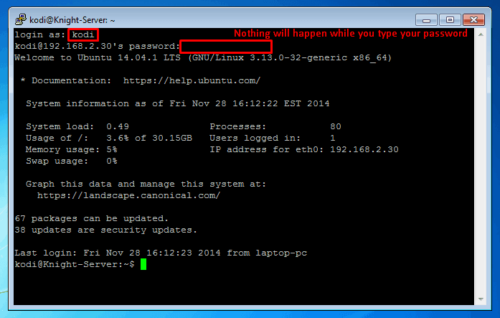
The best way to do the following would be through SSH. In Windows, install PuTTY. Once PuTTY is installed you will need the IP address of your Ubuntu machine. In Ubuntu type sudo ifconfig You should see at least two interfaces shown. The IP will look like 192.168.1.34. One will have the IP 127.0.0.1. Do not use that one. If there are more than one IP besides the 127.0.0.1 just try each of them until you are connected.

Install Kodi
Once you are connected, login as kodi Then enter the commands below. You can copy and right click in putty to paste.
wget https://github.com/jknight2014/xbmc-ubuntu-minimal/raw/patch-1/12.10/kodi-ubuntu-installer.sh
sudo su
bash ./kodi-ubuntu-installer.sh
The Kodi installer will ask you some questions and start working away. You can leave everything default unless you know what you are doing. Some points might take awhile. Please be patient.
During the install you will be asked to select the LIRC remote profile. You will need to select Windows Media Center transceivers/remotes (all)
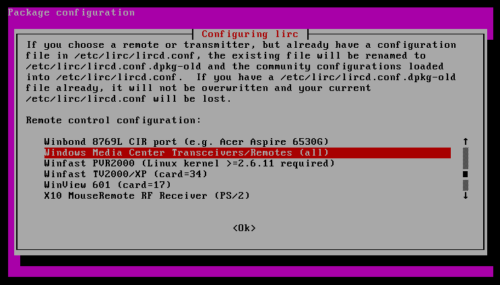
You can select none when it asks for a IR Transmitter. When that is done your computer should restart and you should be greeted with a beautiful yet empty Kodi media center. Dont worry, we will set that up with everything else. Thank Hack-kid from the kodi forms for this script.
Install SABnzbd, Sonarr, and Couchpotato
Before you start, ensure that you have a good Usenet Index Provider and a reliable Newsgroup Account. Go back to Putty and enter these commands:
wget https://github.com/jknight2014/Kodi-IPVR-setup-script/raw/master/IPVR-setup.sh
sudo bash ./IPVR-setup.sh
Some dependencies will install and then you will be asked a few questions.
- The username your running as is
kodi - The username and password you want to log in with can be anything you want. It will be used for logging into Sonarr, CouchPotato, and SABnzbd.
- Then you will be asked to enter the directory to store your files. Your home directory is the best location but you can also set other mounts if necessary.
- The next 6 questions are about your Usenet Provider. Check with your provider for the details you need.
- You then will answer 3 questions about your Usenet Indexer. You can only enter a newsnab indexer here. Such as Oznzb or nzb.su. If you dont have one you can leave these blank and enter them later in Sonarr and Couchpotato.
- Select which apps you want to install. (all are selected by default) and press enter to start the installation.
When the apps are installed you will get a message asking if you want to install the reverse proxy. Select yes and let the installer finish. Once the installer is finished you can access your IPVR programs at:
https://UBUNTUIP/sonarr
https://UBUNTUIP/couchpotato
https://UBUNTUIP/sabnzbd
Of course, replace UBUNTUIP with the IP address of your Ubuntu system. If you do not know your IP address run ifconfig command on PuTTY and look for the IP address after inet addr. You may be warned that the connection is not secure or the certificate is unverified. You can ignore this error. The certificate if signed by your Ubuntu IPVR and will secure your connection. You can login with the Username and Password you entered in steps 2 and 3.
That's it. Start entering shows in Sonarr and movies in CouchPotato. The Sonarr, Couchpotato, and SABnzbd installer was written by me, and while I have changed pretty much every line of the script I got my start with the AtoMiC CouchPotato, SickBeard, and Transmission installers from htpcBeginner.


