Installing an ad blocker like Pi-Hole or AdGuard Home is an absolute breeze with their one-line installs. This gets you up and running in minutes!
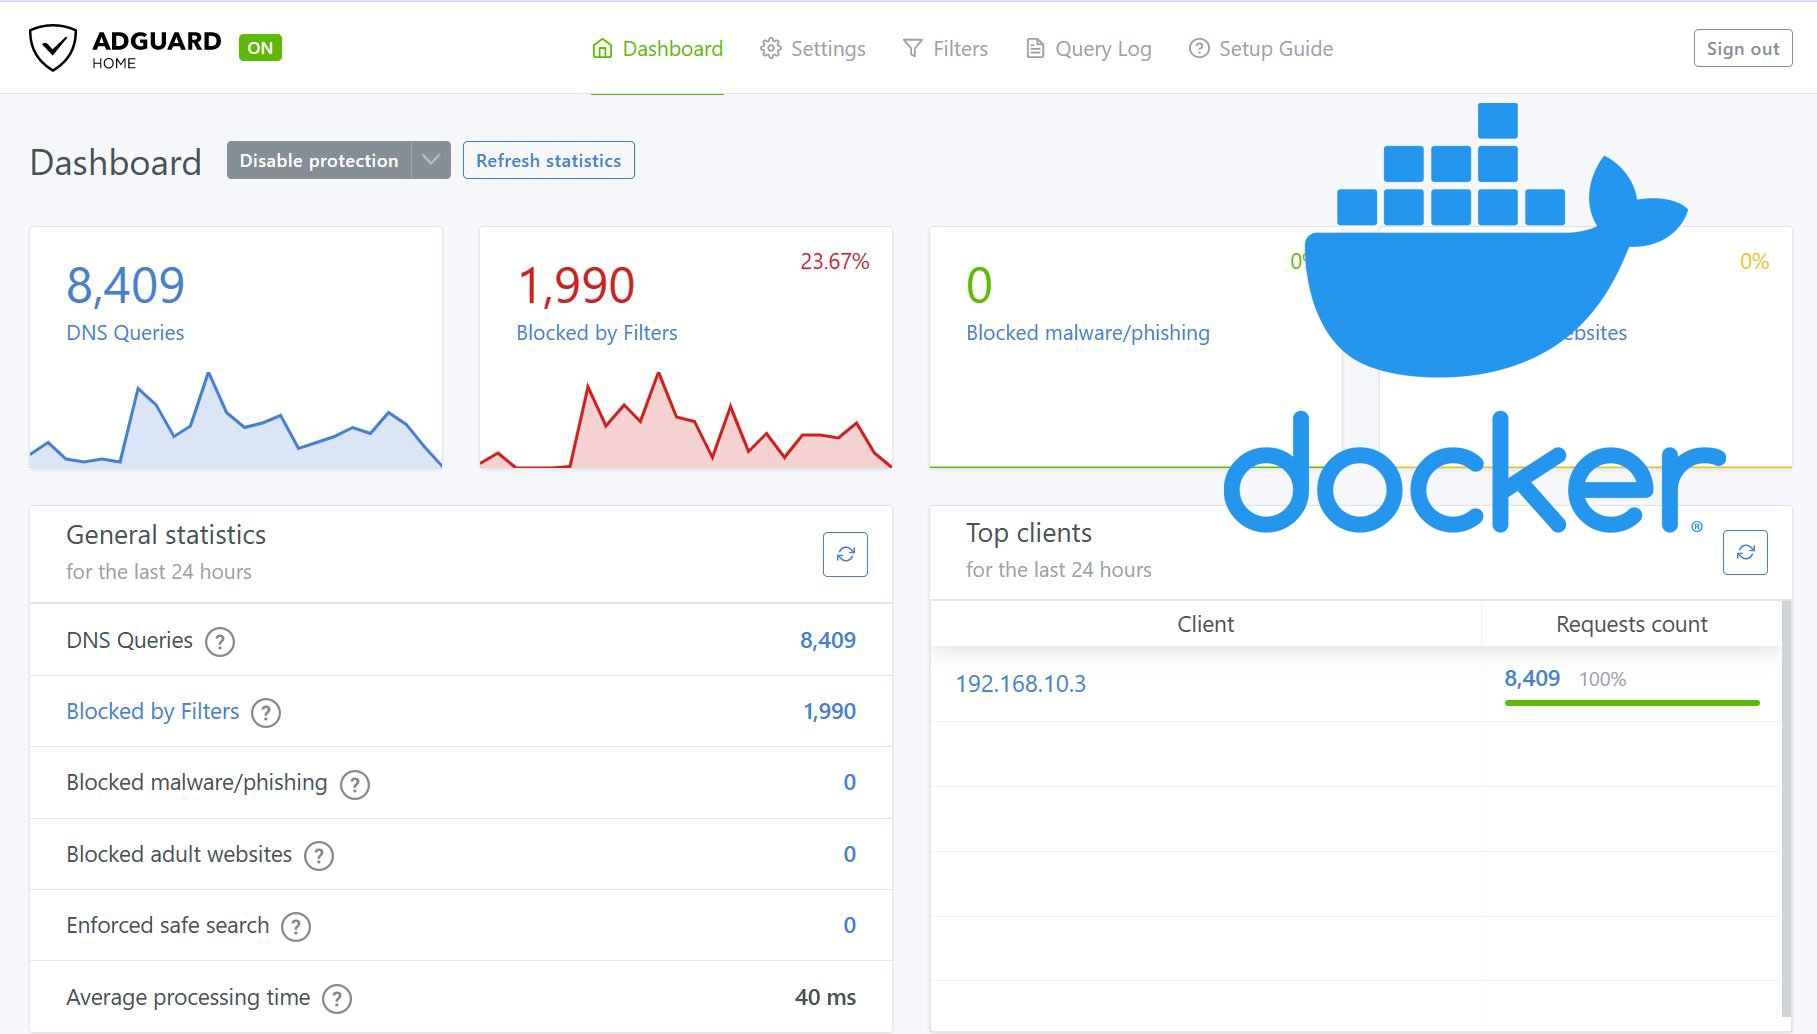
However, these are very powerful pieces of software, and not all of their features are obvious at the outset. Previously, I compared the two pieces of software and gave a rundown of their capabilities. We have also published AdGuard Home Docker and Ubuntu/Debian guides.
This led to us think: those of you out there who aren't familiar with AdGuard Home software might enjoy a quick look at some AdGuard Home configuration tips for after installation. Here are our top 5 tips to get more out of your AdGuard Home software.
Table of Contents
Adguard Home Configuration Tips
Before we can describe the AdGuard Home configuration tweaks, let us ensure that you have the following requirements:
- A working AdGuard Home installation - this article is based upon version 0.107.6
- Access to your AdGuard Home via the Web GUI.
1. Define Client Names and Groups
By default, any device pointed at your AdGuard Home server can use it for DNS lookups. It might be useful for us to identify which device is trying to use it, and set rules around those identities.
In the name of organization and cleanliness, I like to begin by labeling things. This helps me to identify devices and group them if necessary. Groups are especially useful if you want to block specific sites for certain users or devices:
- You vs. Guests
- Kids vs. Parents
- Smart TV's vs Laptops
- Etc.
![Top-5 Best AdGuard Home Configuration Tips [2022] 2 Identifying Clients For Organization](https://www.smarthomebeginner.com/images/2022/04/1.1-agh-dash-with-client-740x433.webp)
The following is a basic example, and for a full in-depth look, head over to AdGuard Home team's wiki on clients.
How to Identify AdGuard Home Clients?
Before we can add friendly names to our devices, we must learn how to identify them. There are a few ways to identify a client:
- Static IP's:
- This works especially well if you are connecting to your AdGuard Home server remotely via VPN like Wireguard.
- This is also possible by setting static IP's for devices in your home network from your router.
- MAC addresses:
- Also useful, but not always a reliable method due to the potential for spoofing.
- You must be using AdGuard Home as your DHCP server (dynamically allocating IP addresses) for this to work.
- ClientID:
- Only if you are accessing AdGuard Home via DoT/DoH/DoQ.
Add Client Name and Group to Devices
Once you decide on how to identify your clients, we can add them under Settings --> Client settings.
![Top-5 Best AdGuard Home Configuration Tips [2022] 3 Configure Adguard Home Client Settings](https://www.smarthomebeginner.com/images/2022/04/1-agh-dash-to-clients-740x268.webp)
From here, we will begin by adding a client via the green Add client button. Clicking on it will give us a new pop-up window.
![Top-5 Best AdGuard Home Configuration Tips [2022] 4 Adguard Home Configuration - Identify Client](https://www.smarthomebeginner.com/images/2022/04/2-agh-new-client-740x524.webp)
- Client Name: Give your device an easy to remember name.
- Tags: These are what I use to "group" devices. It's perhaps not the best solution as the tags are not directly modifiable - we have to use the ones given.
- Identifiers: This is how we identify for the device. In my example above, I'm identifying the device via a static IP.
- Client Settings: The section below is used for setting client-specific options. I cover a few of them later in this article.
Clicking Save adds our device to the table.
![Top-5 Best AdGuard Home Configuration Tips [2022] 5 New Client In Table](https://www.smarthomebeginner.com/images/2022/04/3-agh-saved-client-740x396.webp)
Using Clients and Groups
Client names and group "ctags" can be used in a number of ways. For example:
- Setting custom blocking rules (using
clientorctag). - Blocking specific services.
- Scheduling blocked services via
cronjobs! Think of blocking social media during work/study hours.
2. Configure AdGuard Home Blocklists
By default, AdGuard AdBlocker comes with two block lists (one created in-house) with a good variety of advertising and malware blocking.
We can individually add domains to our blocklist, but that can be quite cumbersome. Fortunately, folks across the internet have been gathering and aggregating lists of commonly used domains featuring advertising, malware, phishing, and more.
Once a list is added to your AdGuard Home configuration, it is updated regularly and your AdGuard Home will automatically use the updated lists. Lists can also be manually switched on and off individually.
Where Are the Blocklists in AdGuard Home?
From the homepage, click on Filters --> DNS blocklists.
![Top-5 Best AdGuard Home Configuration Tips [2022] 6 Getting To Your Blocklists](https://www.smarthomebeginner.com/images/2022/04/4-agh-dash-to-blocklists-740x219.webp)
From this screen, we can activate, deactivate, add, remove, and update the blocklists.
Activate/Deactivate a Blocklist:
![Top-5 Best AdGuard Home Configuration Tips [2022] 7 Default Adguard Home Blocklists](https://www.smarthomebeginner.com/images/2022/04/5-agh-default-blocklists-740x435.webp)
To the left of a blocklist, you can find a checkbox under the Enabled column. Ticking or un-ticking the box will enable/disable a given list.
Updating Blocklists:
The lists are, by default, updated every 24 hours. To update manually, find the blue Check for updates button at the bottom of the blocklists screen (seen above).
The update interval can be changed in the Settings --> General Settings screen. The first option is whether or not to use the blocklists, while the drop-down below provides some options for update intervals.
Finding Additional Blocklists
For starters, where do we even find more lists? What do they do? Who is keeping them updated? As the advertising, adware, malware, and phishing scenes are constantly evolving, these are difficult questions that don't really have definitive answers.
AdGuard Home gives us two options which we investigate below.
Internal Lists:
AdGuard Home ships with two blocklists, although by default, one of them isn't even enabled! Let's remedy that and see what else AdGuard Home is hiding under the proverbial hood.
Once we are on the DNS blocklists page, we are greeted with the two default lists. In the bottom left-hand corner, we see a green button labeled Add blocklist. Clicking on it gives us two options, which aren't immediately clear. In this section we will focus on the Choose from the list option, while we will cover Add a custom list below.
![Top-5 Best AdGuard Home Configuration Tips [2022] 8 Two Ways To Add Blocklists](https://www.smarthomebeginner.com/images/2022/04/6-agh-add-blocklist-740x425.webp)
Click Choose from the list, and we are be greeted with another window. Here we have a curated group of blocklists that can easily be added to your AdGuard Home server. Tick the checkboxes of a few (or all) of the lists, and click Save to add and enable them.
![Top-5 Best AdGuard Home Configuration Tips [2022] 9 25 Available Lists](https://www.smarthomebeginner.com/images/2022/04/7-agh-choose-blocklists.webp)
You should now see them listed in the table. It might take a few seconds for your AdGuard Home server to download and add all of the lists if you selected multiple.
Curated lists:
A quick search using your favorite search engine will probably turn up a variety of lists, but a great place to start is The Firebog.
- Before adding every list on their website (or from any site for that matter), make sure it is from a trusted source as this would be a very easy way for someone to sneakily add a malicious website in for one you normally trust (think bank websites, social media, email, etc.)
- Pay attention to the warnings listed at the top of the Firebog website. It clearly states which lists are likely to cause problems and which will operate silently.
- Adding millions and millions of blocked domains will significantly increase the amount of system memory (RAM) used by AdGuard Home, so be sure to look at the number of sites in each list. I haven't come up with a good method for combating overlapping lists, but this would potentially also help to remove duplicates and reduce the memory footprint.
Once you have found a blocklist you would like to add, copy the URL, and head to your DNS blocklists page. In the bottom left-hand corner, we see a green button labeled Add blocklist. Clicking on it gives us two options, which aren't immediately clear. In this section we will focus on the Add a custom list option, while we covered Choose from the list above.
Click the blue Add a custom link button and we have a new window. Give your new blocklist a fancy name, and paste the URL into the second box.
![Top-5 Best AdGuard Home Configuration Tips [2022] 10 Custom Blocklists Added Via Url](https://www.smarthomebeginner.com/images/2022/04/8-agh-add-custom-blocklist.webp)
Click Save and the list will show up in the table. If it was added successfully, the pop-up window will close and you will see a small green box indicating success in the bottom right-hand corner. If the pop-up doesn't close and you see a red box with an error, there's an issue with the list or the URL you attempted to add.
![Top-5 Best AdGuard Home Configuration Tips [2022] 11 Multiple Blocklists Added](https://www.smarthomebeginner.com/images/2022/04/9-agh-blocklist-success-740x452.webp)
3. Customize AdGuard Home DNS Servers and Settings
Without going into detail about how AdGuard Home works (we have an entire article dedicated to that!), just know that it will use upstream DNS servers to fill its own "cache" for answering our web requests.
Upstream DNS servers are the servers that hold the addresses of all websites around the world. There are a number of settings we can use to easily improve the reliability, security, and performance of AdGuard Home with regard to DNS.
Why Do Upstream DNS Servers Matter?
From a privacy standpoint, DNS servers can know a LOT of information about our browsing history. How the owner of that service treats your data will depend on each of their policies. Both Google (8.8.8.8) and Cloudflare (1.1.1.1) are relatively transparent about their privacy policies. But others may not be as honest.
Other considerations are the speed at which our requests are answered, and what other services a DNS service might provide.
For example, some services provide "family-friendly" DNS services that automatically block malware or adult content.
Besides, there are many ways to query a DNS server, some of which can increase your security (see DNSSEC, DoT, DoH, and DoQ), and privacy (see DNSCrypt, unbound).
AdGuard maintains a good list of DNS providers in their knowledge base with some basic descriptions of each.
Set Upstream DNS Servers:
Setting an upstream DNS server starts by heading to Settings --> DNS settings. From this screen, you can set one or multiple DNS servers, and even select how they are used. Fortunately, AdGuard Home has done an excellent job of providing some explanations and examples right on the page, although it is non-exhaustive.
![Top-5 Best AdGuard Home Configuration Tips [2022] 12 Add Upstream Dns Servers](https://www.smarthomebeginner.com/images/2022/04/10-agh-upstream-dns-740x448.webp)
The default installation of AdGuard Home utilizes Quad 9's DoT server which is not a bad start. But feel free to add/modify it to your liking.
General DNS settings
Besides setting your upstream DNS servers, there are a number of settings lower down the page that we can benefit from:
![Top-5 Best AdGuard Home Configuration Tips [2022] 13 More Adguard Home Dns Settings](https://www.smarthomebeginner.com/images/2022/04/11-agh-dns-settings-740x456.webp)
- Rate Limit: If your AdGuard Home instance is reachable from the internet (which I don't necessarily recommend without putting a few security measures in place), you can limit the chance of it being used for attacks by limiting the number of requests any device can make per second. The default is pretty good. Generally, I don't recommend changing this unless you know what you are doing.
- Enable EDNS Client subnet: If you are only using AdGuard Home from your house, this setting isn't helpful. However, if you are using it from another location, this setting sends part of your IP address to the upstream DNS server. This is done to return to you the fastest (closest) server to your device.
- Enable DNSSEC: I would definitely recommend this setting. By enabling DNSSEC, the returned DNS answers are signed to ensure they came from a legitimate source and haven't been tampered with.
- Disable resolving of IPv6 addresses: It's generally OK to leave this setting on, especially as we head toward an IPv6 internet. In the past, resolving IPv6 addresses would only be useful if you even had an IPv6 address. These days they are becoming more common as the world runs out of IPv4 addresses.
- Blocking Mode: Default is a good choice for most people, no need to change unless you know why you wouldn't want it to return a null IP.
DNS Cache Settings:
In the next section we have cache settings. The cache is where AdGuard Home stores the addresses of your previous requests. This speeds up your web browsing by answering queries from this cache instead of reaching out to the upstream DNS servers again.
For the most part the default settings should be fine, but feel free to increase the cache size (default is 4Mb) if you have many devices and sites are slow to be found.
Optimistic Caching: This setting can be useful to speed up requests, but generally not necessary as you'd want the most updated answer and not an old one.
DNS Access Control:
This acts as a sort of white list or blacklist for who can use AdGuard Home. This can be useful if your AdGuard Home instance is open to more than just the devices in your home network.
By using the Allowed clients section, you could potentially add IP ranges aligning with your ISP and Cellular provider to severely limit access if open to the internet.
The Disallowed clients is a blacklist and is only used if the above is empty.
Be the 1 in 200,000. Help us sustain what we do.You will gain benefits such as Deployarr access, discord roles, exclusive content, ad-free browsing, and more.🔥 Holiday Sale! 25% Off Platinum Membership$399.99$299.99 (ends December 31).Join the Geek Army (starting from just $1.67/month)
4. Configure AdGuard Hoem Local DNS Entries
AdGuard Home can act as a local DNS resolver by using local DNS entries. Local DNS entries are a simple configuration that allows you to create domain names for your personal websites. They can be useful in many ways, especially for those of you self-hosting applications. Some examples:
- Self-hosted application(s): By self-hosting an application, you can often connect to a service via the local IP address where it is hosted. For example, you might get to your Nextcloud instance by using http://192.168.1.125. By using a local DNS entry, we only have to remember http://nextcloud.mydomain.tld. The beauty of it is you don't even have to use a real domain name, or one you even own.
- Domain via external IP outside home, and local IP at home: If you've registered a domain name to a service you are hosting at home, you might want to access it both locally and away from home. When away from home, you would simply use your https://example.domain.tld to access the service which is mapped to your public IP. However, when you are on your home network, that same address won't work without NAT hairpinning. To remedy that, you can set the same URL to resolve to the local IP address instead.
- Hide services behind a VPN: Similar to the above, we can register a domain name, but not point it to our external IP address. Instead, we might simply register it to a loopback address like 127.0.0.1. However, internally we can set AdGuard Home to resolve the domain name via a VPN tunnel like Wireguard.
If you want or need TLS certificates from Let's Encrypt, you will actually need to register the domain name and you will need to get the certificates via the DNS challenge.
Adding DNS Rewrite Entries
From our Dashboard, head to Filters --> DNS rewrites. From this screen we can easily add entries and where we want them redirected to.
![Top-5 Best AdGuard Home Configuration Tips [2022] 14 Dns Rewrites Found From Dash](https://www.smarthomebeginner.com/images/2022/04/12-agh-dash-to-dns-rewrites-740x265.webp)
In the DNS rewrites screen, click the green Add DNS rewrite button. This will bring up a new window.
![Top-5 Best AdGuard Home Configuration Tips [2022] 15 Dns Rewrite Window](https://www.smarthomebeginner.com/images/2022/04/13-agh-new-dns-rewrite.webp)
Examples are given in the window. We can simply redirect a domain, subdomain, or use the wildcard character * to indicate ALL subdomains under a domain.
![Top-5 Best AdGuard Home Configuration Tips [2022] 16 Successful Dns Rewrites](https://www.smarthomebeginner.com/images/2022/04/14-agh-dns-rewrite-table-740x445.webp)
5. Block and unblock individual sites
Sometimes there are sites, services, or individual URL's that we want to block (or unblock) that don't coincide with the blocklists we have enabled. Not to worry, there are 3 ways to handle this. We will look at all three briefly, beginning with the easiest method.
Blocked Services (Easy)
AdGuard Home ships with a number of common services that the admin can easily block at will. From your dashboard, go to Filters --> Blocked services.
![Top-5 Best AdGuard Home Configuration Tips [2022] 17 Getting To Blocked Services](https://www.smarthomebeginner.com/images/2022/04/15-agh-dash-to-blocked-services-740x267.webp)
From here, we have a large list of services we can block with the flip of a switch.
![Top-5 Best AdGuard Home Configuration Tips [2022] 18 Quick Block Service](https://www.smarthomebeginner.com/images/2022/04/16-agh-blocked-service-740x285.webp)
In the example above, I've ticked Amazon.
Clicking the switch does not automatically start blocking the service! You will need to scroll to the bottom and click Save. After which, you should see a green confirmation dialogue pop-up in the bottom right-hand corner.
Keep in mind that this is a global block for ALL users. If you would like to block a service for an individual user, it is possible from the Client dialogue described above.
From the Query Log (Intermediate)
The Query Log is the log in which all requests are shown. By default, the log is enabled, stores the IP of the client, and is saved for 90 days. All of these settings are configurable in your Settings --> General settings window under Log settings.
From the dashboard, simply click on Query Log along the top menu.
![Top-5 Best AdGuard Home Configuration Tips [2022] 19 Adguard Query Log](https://www.smarthomebeginner.com/images/2022/04/17-agh-query-log-740x327.webp)
From here, we can see all the queries made to AdGuard Home. They can be filtered in the top right-hand corner, or we can type a client name or domain name in the search box at the top.
Once you've found the domain you want to block/unblock, hover your mouse over the line. To the right you will see a button labeled Block or Unblock. Clicking the small down error to the right will give you additional options.
![Top-5 Best AdGuard Home Configuration Tips [2022] 20 Unblock Directly From Query Log](https://www.smarthomebeginner.com/images/2022/04/18-agh-unblock-from-query-log-740x450.webp)
In the example above, I added Facebook as a blocked service. After trying to access it (unsuccessfully), it shows up in our query log.
You can see above that I filtered by blocked services, and have selected to Unblock for this client only. After clicking, a green box pops up in the bottom right-hand corner to show that a custom rule was added, and what that rule is.
The syntax for the rule can be quite confusing at first. Where to find these rules and how they are written are described in the section below.
Custom Rules (Advanced)
Custom rules is where software like AdGuard AdBlocker Home go from being a good software to an extremely powerful one. I put this under advanced because the syntax can be a bit odd at first. You can find the custom filter rules under Filters --> Custom filtering rules.
![Top-5 Best AdGuard Home Configuration Tips [2022] 21 Get To Custom Filter Rules](https://www.smarthomebeginner.com/images/2022/04/19-agh-custom-filter-rules-740x268.webp)
AdGuard Home gives a few simple examples directly below the entry box. There are no rules added by default.
Following the Learn more link below the examples gives the full explanation of what's possible with custom rules.
Seeing as this is a quick post, I won't dedicate much to this section as most is spelled out in great detail at the above link.
![Top-5 Best AdGuard Home Configuration Tips [2022] 22 Custom Rules Complexity](https://www.smarthomebeginner.com/images/2022/04/20-agh-added-custom-rules-740x335.webp)
If you came here from the above section, here we can see the custom rule added when we clicked Unblock for this client only from the Query Log.
Query Domains On A Blocklist
If you ever run into the issue where a domain appears to be blocked, but you can't find it in the Query Log, AdGuard AdBlocker Home version comes with a neat little tool to check if a domain is in a blocklist or has been blocked via custom rules.
Like the above section, head to Filters --> Custom filtering rules. Scroll down to the bottom where you will see Check the filtering.
![Top-5 Best AdGuard Home Configuration Tips [2022] 23 Filter Check](https://www.smarthomebeginner.com/images/2022/04/21-agh-check-filter.webp)
Type in the desired query and click Check.
![Top-5 Best AdGuard Home Configuration Tips [2022] 24 Finding A Blocked Service](https://www.smarthomebeginner.com/images/2022/04/22-agh-check-filter-amazon.webp)
Here we can see that "amazon.com" is blocked, and we can see that it is blocked because we ticked the switch under Blocked services. If it originated from one of our blocklists, they will be shown in the resulting box.
For example, let's say we blocked the domain eviltracker.com for one of our clients (seen above). When we search for the domain, we can see that it shows Not found in filter lists.
![Top-5 Best AdGuard Home Configuration Tips [2022] 25 Check Filter Not Per Client](https://www.smarthomebeginner.com/images/2022/04/23-agh-eviltracker-not-found.webp)
If you have many custom rules created and are having trouble tracking down a specific domain, I recommend the good ol' Ctrl + F search on the same page.
BONUS: Updating AdGuard Home
Updating AdGuard Home is a (thankfully) simple process. As soon as you log into your AdGuard Home's dashboard, you will see a blue notification bar across the top of the screen letting you know an update is available.
If you'd like to check manually, scroll to the bottom of the screen, and in the bottom right-hand corner you will see the software's version number. Just to the right is a little white/blue button where you can manually trigger the update check.
![Top-5 Best AdGuard Home Configuration Tips [2022] 27 Update From The Top Or Bottom](https://www.smarthomebeginner.com/images/2022/04/25-agh-update-check-740x349.webp)
Directly Installed (not containerized)
If you installed AdGuard Home via the one-line installation, or by downloading the binary directly from GitHub, you can simply click the big blue Update now button on the top banner.
![Top-5 Best AdGuard Home Configuration Tips [2022] 28 Update In Progress](https://www.smarthomebeginner.com/images/2022/04/26-agh-update-progress-740x332.webp)
The update will take a few seconds to complete and refresh the page when finished. Voilà!
Containerized (Docker, Podman, etc.)
As always, it's never a good idea to update software within a container. Instead, pull the new image, take down the old container, and run the newly pulled image.
The "why" to this method is a bit outside the scope of this article. The short answer is that containers are designed to be used as they were created. Updates often involve new dependencies which don't always play nice in old containers.
Conclusion
AdGuard Home is undoubtedly one of my favorite pieces of software in my self-hosted collection. Pi-Hole makes a nice alternative and can easily be dropped in as a substitute. [Read: Ultimate Pi-Hole Raspberry Pi Setup: Faster Internet in 15 min]
After having used both fairly extensively, I must admit that the power of AdGuard Home is less obvious at first glance. Hopefully, this article has given you a taste of of that with some tips on getting it personalized to your liking. As mentioned throughout the article, I highly recommend digging into AdGuard Home Configuration documentation as they are filled with informative examples.
As always, safe browsing and if you have some other good tips-and-tricks, feel free to share them in the comments section below!

![Top-5 Best AdGuard Home Configuration Tips [2022] 1 Adguard Home Banner](https://www.smarthomebeginner.com/images/2022/04/AGH-toptips-740x416.webp)
![Top-5 Best AdGuard Home Configuration Tips [2022] 26 Use Ctrl F To Find Domains](https://www.smarthomebeginner.com/images/2022/04/24-agh-ctrl-f.webp)


![8 Amazing Raspberry Pi Ideas [2022]: Beginners and Enthusiasts Raspberry Pi ideas](https://www.smarthomebeginner.com/images/2021/09/raspberry-pi-4-dev-board.jpg)