This post details how to add post pagination in Genesis Theme Framework with WP-PageNavi plugin and style it with WP-PageNavi Style plugin. Splitting posts into pages is one way of increasing pageviews, decreasing bounce rate, and increasing CTR. StudioPress's Genesis Theme Framework offer some of the professionally designed WordPress themes and templates. Since moving to Genesis Theme Framework, our traffic has continually increased. In my previous post, I explained how to add and style post pagination without a plugin. If you that was a bit difficult and you prefer not to mess with theme files, then follow this post to add post pagination using the WP-PageNave plugin.
You may also like to read:
Splitting Posts
Genesis Theme Framework supports post page numbers by default. You can split pages by adding <!--nextpage--> where you want the split to occur. However, the post pagination is displayed at the bottom of the post on the left side. Furthermore the default style may not suit your needs. WP-PageNavi and WP-PageNavi Style plugins address these issues. However, the problem is making WP-PageNavi plugin work in Genesis Theme Framework requires a little bit of code editing.
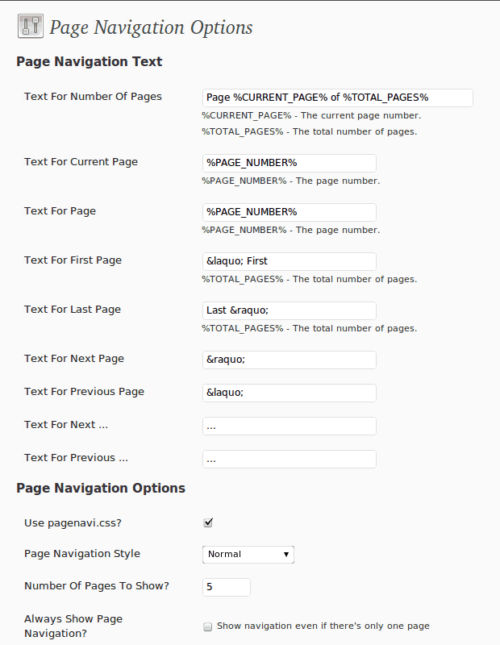
First, install and activate WP-PageNavi and WP-PageNavi Style plugins. Next review the default settings for WP-PageNavi:
You will find that post page numbers are not being displayed in multi-page posts. In order to make post pagination appear, you will have to edit post.php under /wp-themes/genesis/lib/structure/. I recommend creating a backup before you edit the file. Open post.php and find the following line within the function genesis_do_post_content:
Replace it with the following line:
wp_pagenavi( array( 'type' => 'multipart' ) );
You should now see page numbers displayed at the end of the post on the left side. You can move the above line within the genesis_do_post_content function to change the location of the post page numbers. An example is shown in my other post, which also shows how to insert custom affiliate banner or content between post content and post pagination. Note that this example uses the default post pagination feature and not WP-PageNavi. Just replace the wp_link_pages function with wp_pagenavi function as explained above.
Step 2: Style Your Post Page Numbers
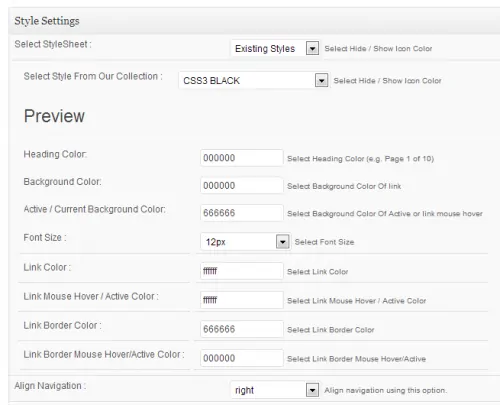
Unlike using the default post pagination feature where you will have to style the page numbers manually, styling WP-PageNavi page numbers is extremely simple using the WP-PageNavi Style plugin. This plugin offers several preset styles that may actually work for you. If not, it also offers you the flexibility to play with the styling to fit your needs.
If you are satisfied you are good to go. But if you are like me and prefer not to use a plugin just for styling the page numbers then there is one more step you could do. Once you have selected a style for your post page numbers, go to /wp-content/plugins/wp-pagenavi-style/css/ folder and open the .css for the style you selected. Copy the entire contents of the file to your clipboard. Then open the /wp-content/plugins/wp-pagenavi/pagenavi-css.css file, delete all existing lines, copy the contents of the clipboard to the file, save, and exit. You may now uninstall WP-PageNavi Style plugin and keep just the WP-PageNavi plugin. What this does is it basically makes the style you selected the default style of the WP-PageNavi plugin.
Recommended Guides on WordPress:
You may also choose to implement post page numbers without a plugin instead. Hope this helps! Go ahead and add post pagination to your site to increase pageviews.


