If you've installed Plex Media Server on Windows Operating Systems in the past, then you shouldn't have any problems figuring out how to install Plex on Windows 10. This article is aimed at those who want to know how to get Plex on Windows and have never installed it, or those that simply just want a guide on how to setup Plex server. It will be focused on the Plex Media Server portion of the install, assuming you have other client hardware in place to receive the video. [Read: 5 best Plex clients in 2015 for your HTPC]
The software itself is more than capable of supporting Windows 10. It is worth noting Plex was running successfully on Windows 10 since the Technical Preview, giving further credibility to Plex's stability and developer support. In case you want to explore other alternative solutions, like running your media locally or streaming from media sources on internet, you could also take a look at Kodi for Windows or even newer alternatives such as Emby media server. Without further ado, here's how to install Plex on Windows 10. [Read: Plex vs Emby: A Comprehensive Comparison]
Recommended HTPC / Home Server Builds:
- Best Home Theater PC Build 2017 to do it all (Plex, Kodi, NAS, Gaming)
- Best Emby Server builds 2018 – Pre-built and DIY options
- Medium Budget 4K HTPC Build 2017 for Kodi, Plex and Gaming
- Cheap 4K HTPC Build for Kodi, OpenELEC, and LibreELEC 2017
- Low Power Home Server Build 2017 for Network File and Media Storage
- Best HTPC for Kodi with 4K on a Medium Budget 2017 (~$400)
- Energy efficient budget HTPC-NAS combo build 2016
How to Install Plex on Windows 10 media server
The first step to install Plex on Windows 10 is to download the Plex Meda Server software. As this article is covering a PC installation, select Computer as the server type.
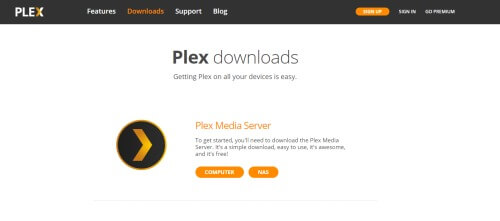
You will then select the OS where you'll be installing Plex. For the sake of this article, select Windows for the OS then "Download English."
Once the download finishes, click to launch the installer. Leave all defaults in place and progress through to the initial launch of Plex. You'll need to accept the Plex Terms of Service in order to install Plex on Windows 10.
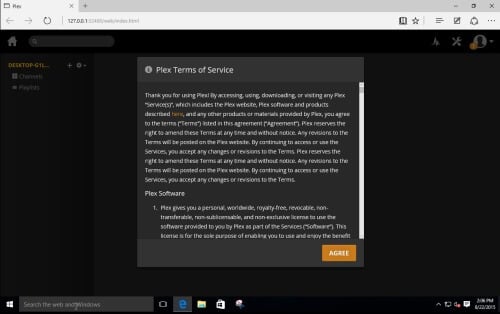
The first time you open Plex Media Server, it will be rather empty.
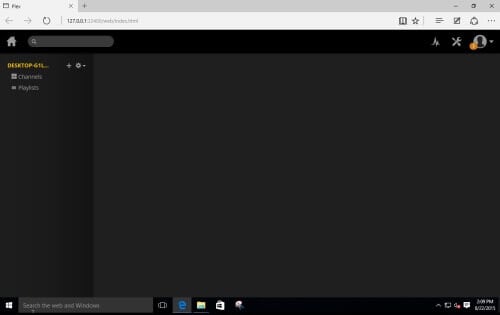
Click on the "+" to the right of your Plex Media Server name to begin adding media.
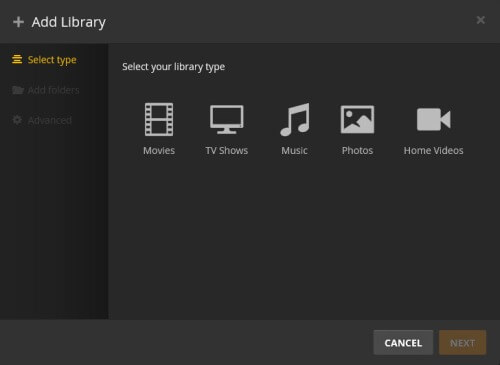
Select which type of media you're going to connect to your Plex Server.
TIP: If the video is not named in the Plex Naming Convention then you'll want to add it to Home Videos for the scanner to pick it up correctly.
We're going to connect a Movies library to our Plex Server.
Select Movies as our Library type.
If you want your Movies library to be named something other than "Movies" now is your chance to change it.
After clicking next, you'll see where we can browse to find where our Movies library is stored.
With our Movies Library selected, we'll add it to our Plex Media Server.
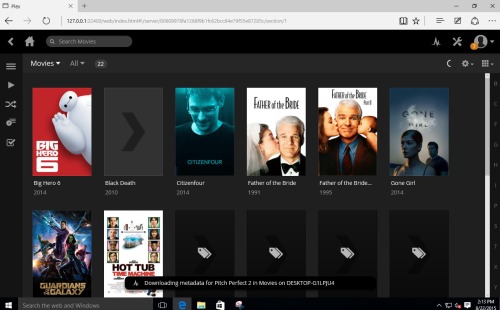
Plex will load the names of our Movies library and begin collecting the appropriate metadata.
The process is the same regardless of media library type: whether Movies, TV Shows, or Music. Now is a perfect time to add 3 of the best Plex Channels.
With our libraries added and the metadata downloaded, your install of Plex Media Server on Windows 10 is officially set up. The only thing left to do is go to your Roku, Chromecast, Amazon Fire TV or other client device and point it to your newly-running server. [Read: What Plex Client Hardware is Right for You?]
Plex is a well-known and well-rounded media serving powerhouse but it is far from the only option available. Check out 10 media center alternatives worth a look, should you find yourself wanting something different.

![10 Best Plex Client Devices [2022] - STUTTER-free Streaming Best Plex Client Devices](https://www.smarthomebeginner.com/images/2022/02/best-nas-for-plex-server-featured-images-from-pexels-photography-maghradze-ph-3764958-e1648542743772.jpg)
![10 Best Emby Client Devices [2023] - 4k, Hardware Transcoding, etc. setup emby server with raspberry pi](https://www.smarthomebeginner.com/images/2017/02/setup-emby-server-with-raspberry-pi.jpg)
![10 Best Jellyfin Client Devices [2022] - 4k, Hardware Transcoding, etc. Jellyfin Roku App](https://www.smarthomebeginner.com/images/2021/02/jellyfin-roku-client-app-ft.jpg)

![8 Best NAS with Plex Server Support [2022] - 4k, Transcoding, etc. Best NAS Server for Plex](https://www.smarthomebeginner.com/images/2020/02/best-media-server-for-plex-ft.jpg)